CT on DragonFly 5.8.0
- Details
- Category: CodeTyphon Host OSes
- Published: Wednesday, 04 March 2020 18:31
- Written by Administrator
- Hits: 11563
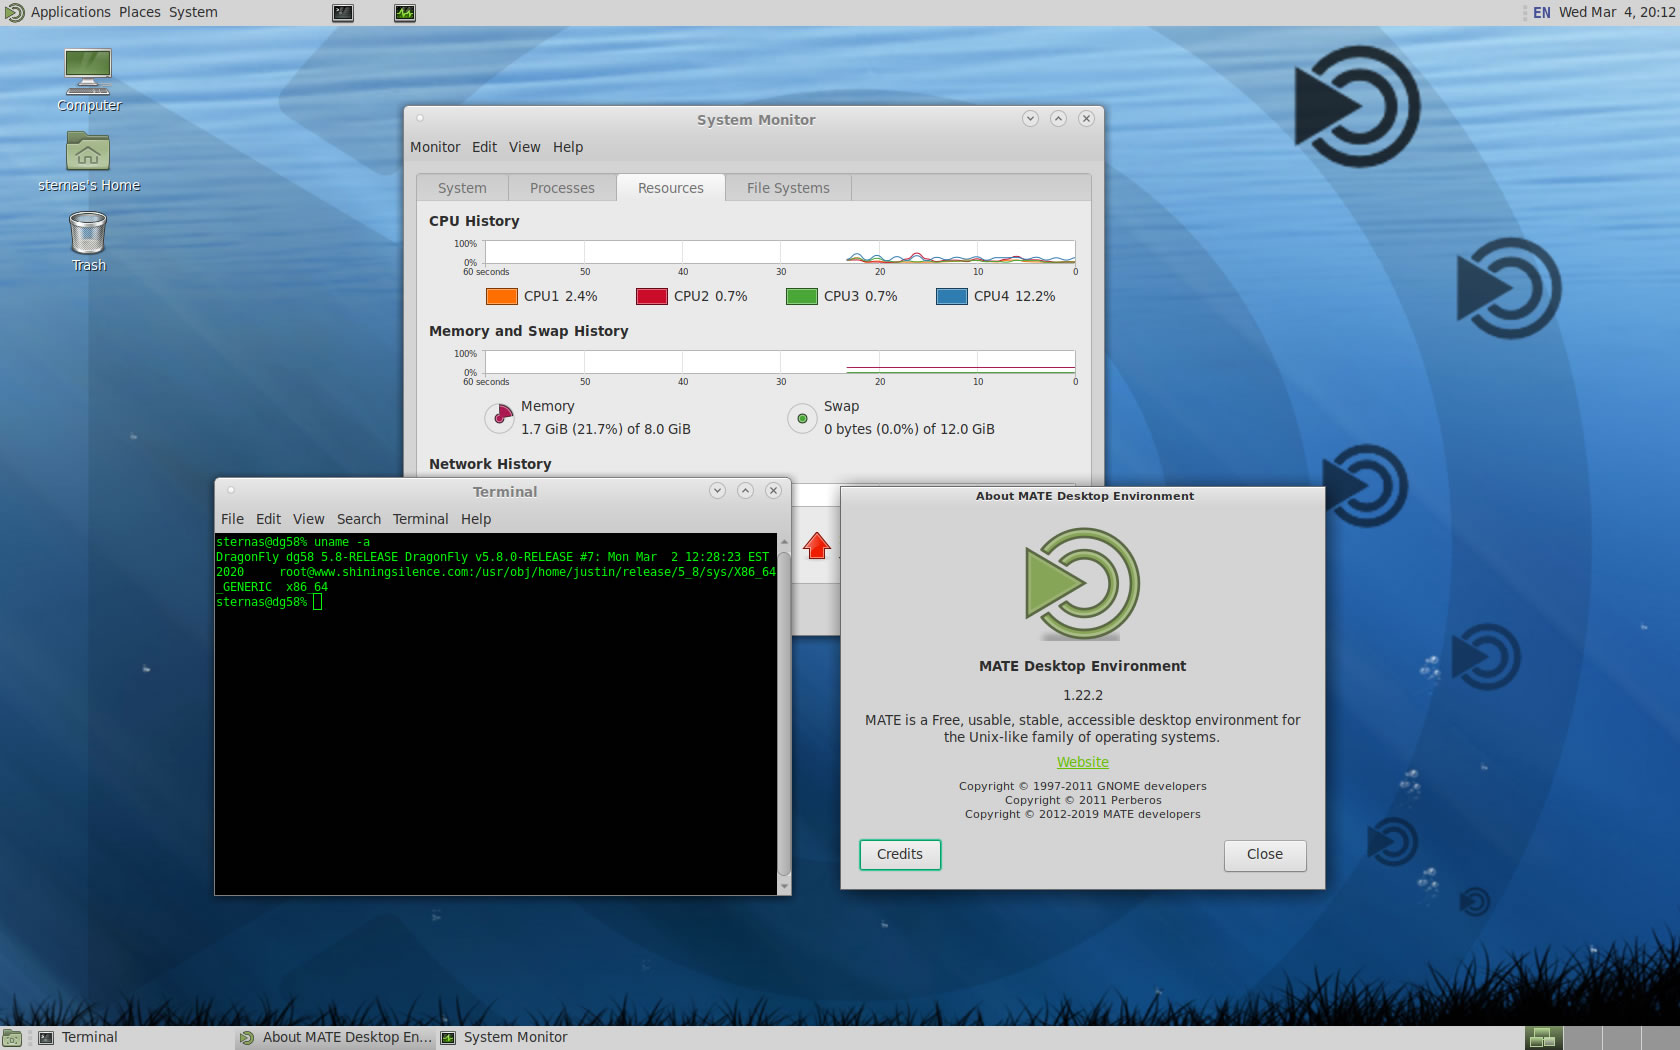
We test Lab CodeTyphon 7.10 on DragonFly 5.8.0

DragonFly belongs to the same class of operating systems as other BSD-derived systems and Linux.
It is based on the same UNIX ideals and APIs and shares ancestor code with other BSD operating systems.
DragonFly provides an opportunity for the BSD base to grow in an entirely different direction from the one taken in the FreeBSD, NetBSD, and OpenBSD series.
DragonFly includes many useful features that differentiate it from other operating systems in the same class.
The most prominent one is HAMMER, our modern high performance filesystem with built-in mirroring and historic access functionality.
Virtual kernels provide the ability to run a full-blown kernel as a user process for the purpose of managing resources or for accelerated kernel development and debugging.
DragonFly BSD is one of our LAB Reference OSes
More for DragonFly BSD here 
System: Entry level PC with 1 CPU (4-Cores) / 8 Gbyte RAM / 120 Gbytes Hard Disk / 1680x1050 pixels Monitor
OS : DragonFly version 5.8.0 64 bits (dfly-x86_64-5.8.0_REL.iso)
1. OS things and stuff..
Updated for DragonFly BSD 5.8.3 (2020-10-01)
DragonFly BSD installation give you only a minimum bootable OS.
First Install the OS to your PC.
Our minimum desktop setup procedure:
After OS installation, Logging as "root"
a) Install "bash", "zip", "unzip", "nano", "sudo" and "xorg"
pkg install -y bash zip unzip nano sudo xorg
b) At this test we install "MATE", "KDE5", "GNOME3" and "xfce4" Desktops
pkg install -y mate mate-desktop mate-commonpkg install -y xfce xfce4-desktop thunar-archive-pluginpkg install -y gnome3 gnome-desktoppkg install -y kde5pkg install -y lightdm lightdm-gtk-greeter lightdm-gtk-greeter-settings
c) Setup /etc/rc.conf
nano /etc/rc.conf
and add:
moused_enable="YES"
hald_enable="YES"
dbus_enable="YES
lightdm_enable="YES"
d) Add installation user to group "wheel"
pw groupmod wheel -m username
Reboot and logging as installation user...
2. Preparation-Give "sudo" root privileges
Open a terminal and exec
sunano /usr/local/etc/sudoers
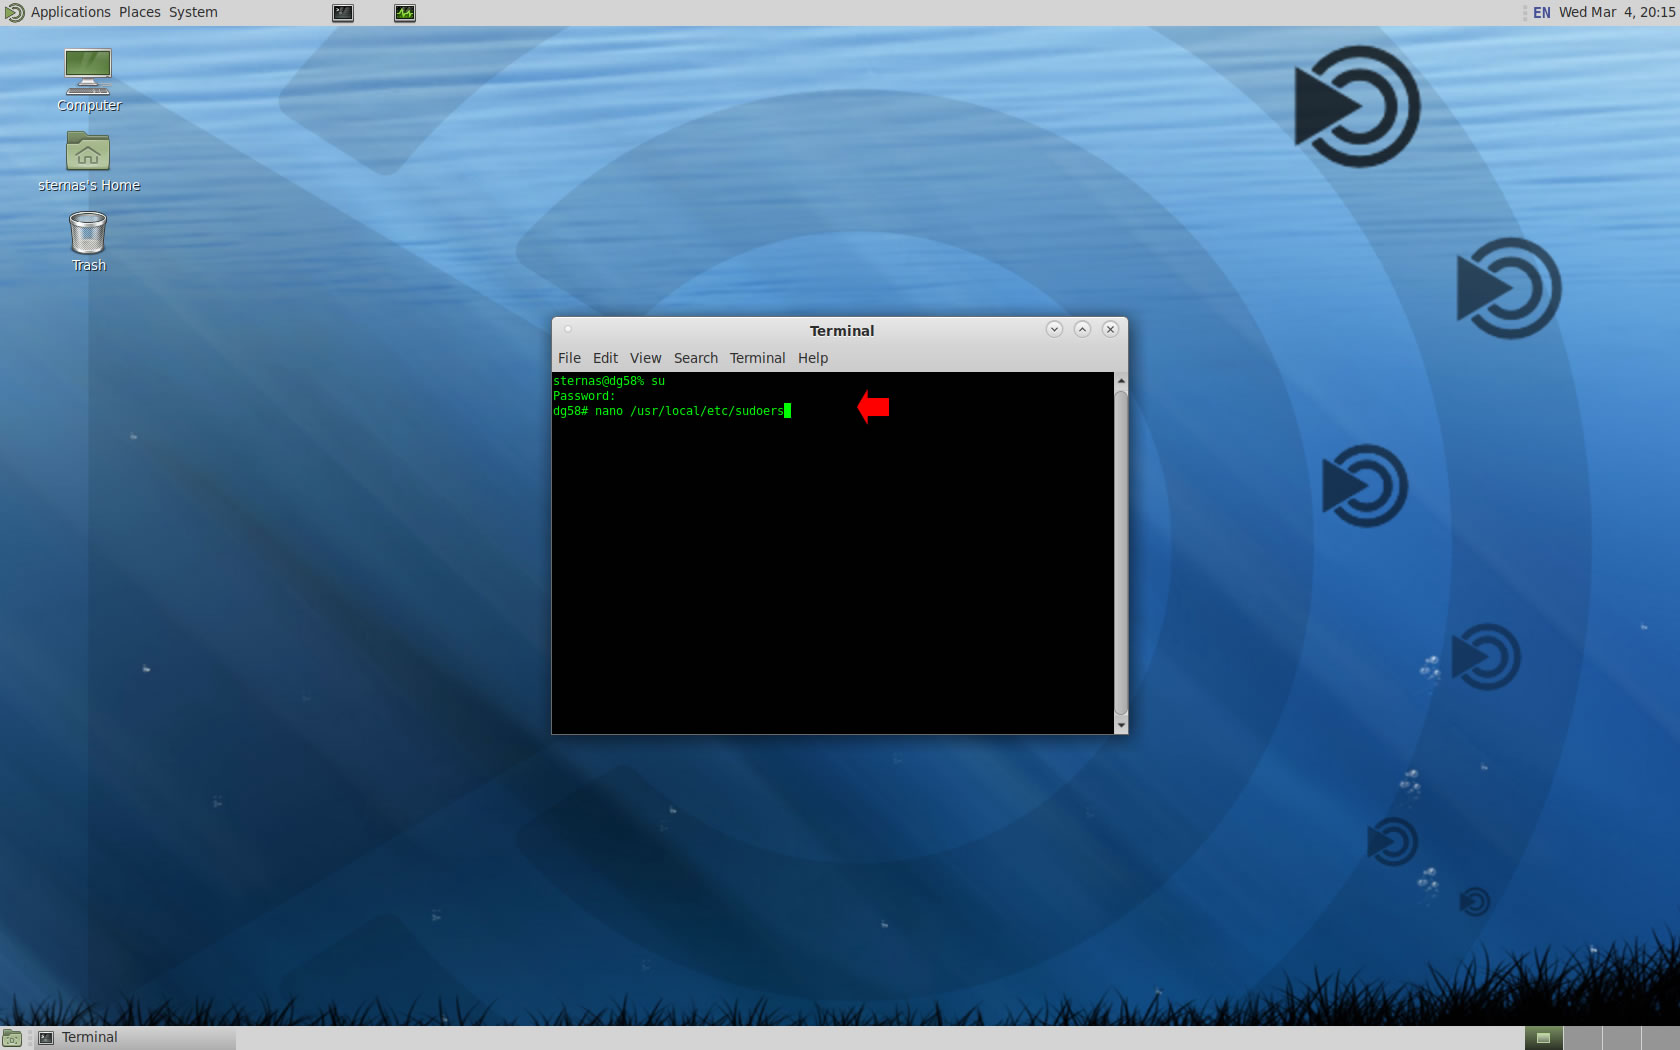
add at the end of /usr/local/etc/sudoers 1 line
username ALL=(ALL) NOPASSWD: ALL

Ctl-X to exit and Y to save
3. Download-Unzip-Install
Download CodeTyphonIns.zip and unzip to your home directory
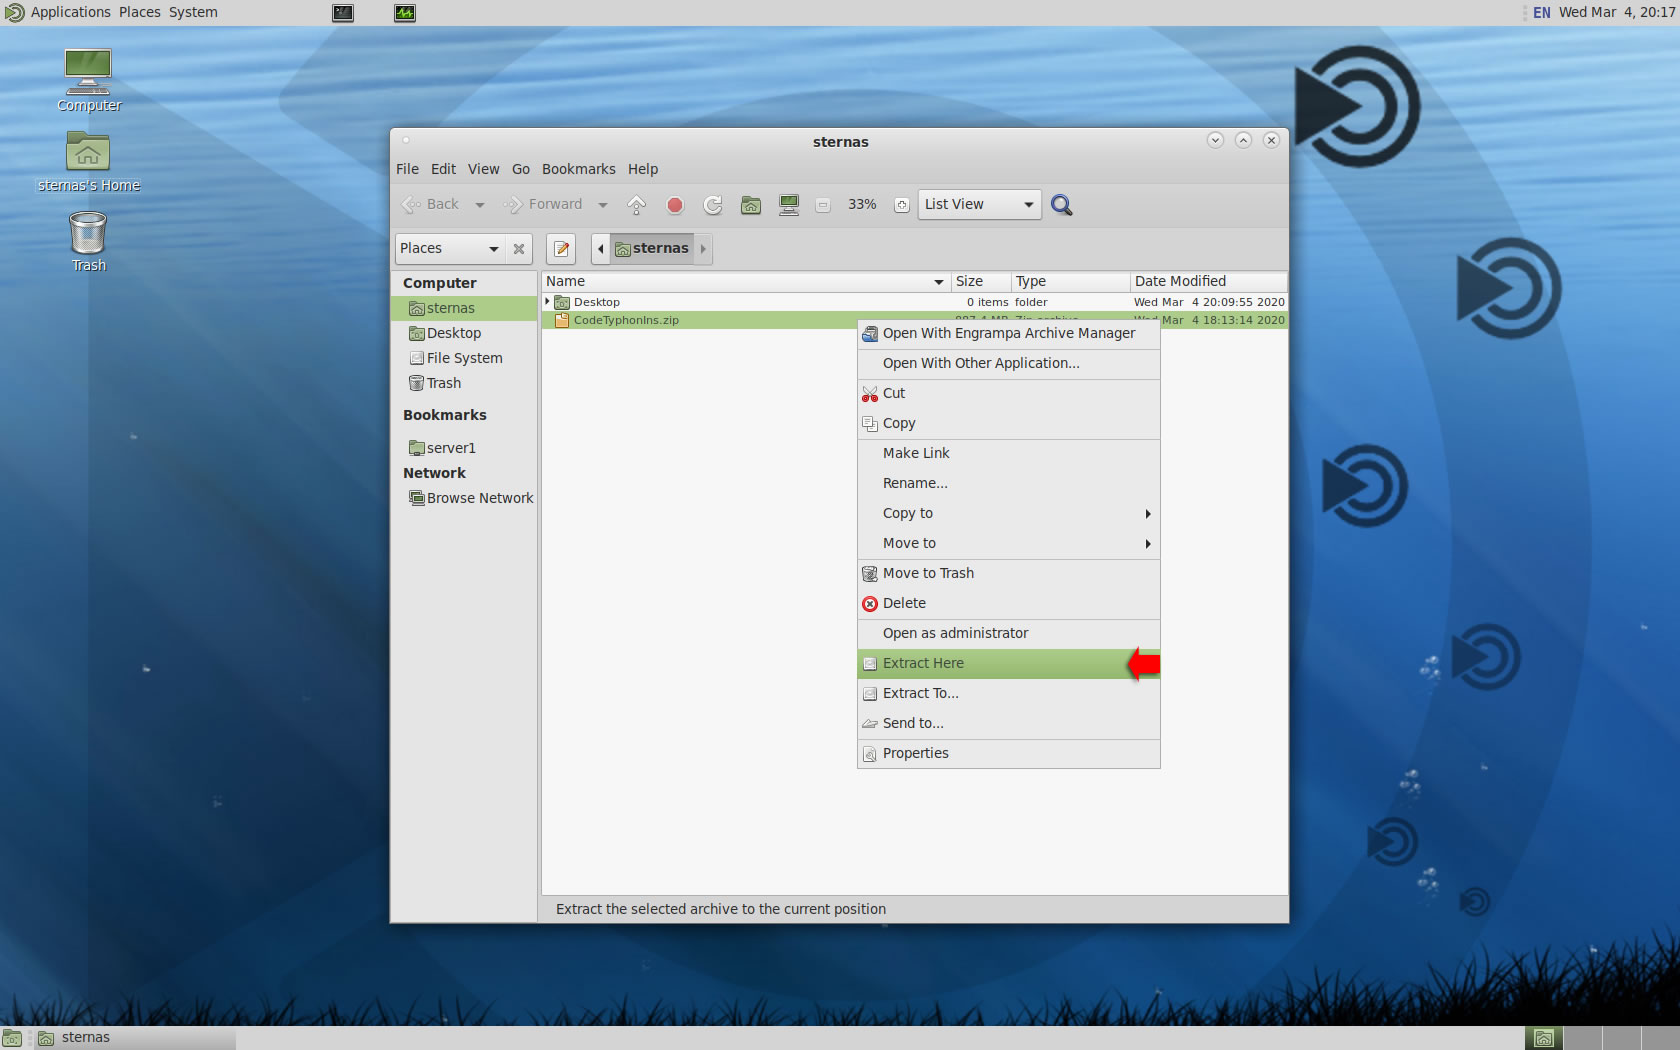
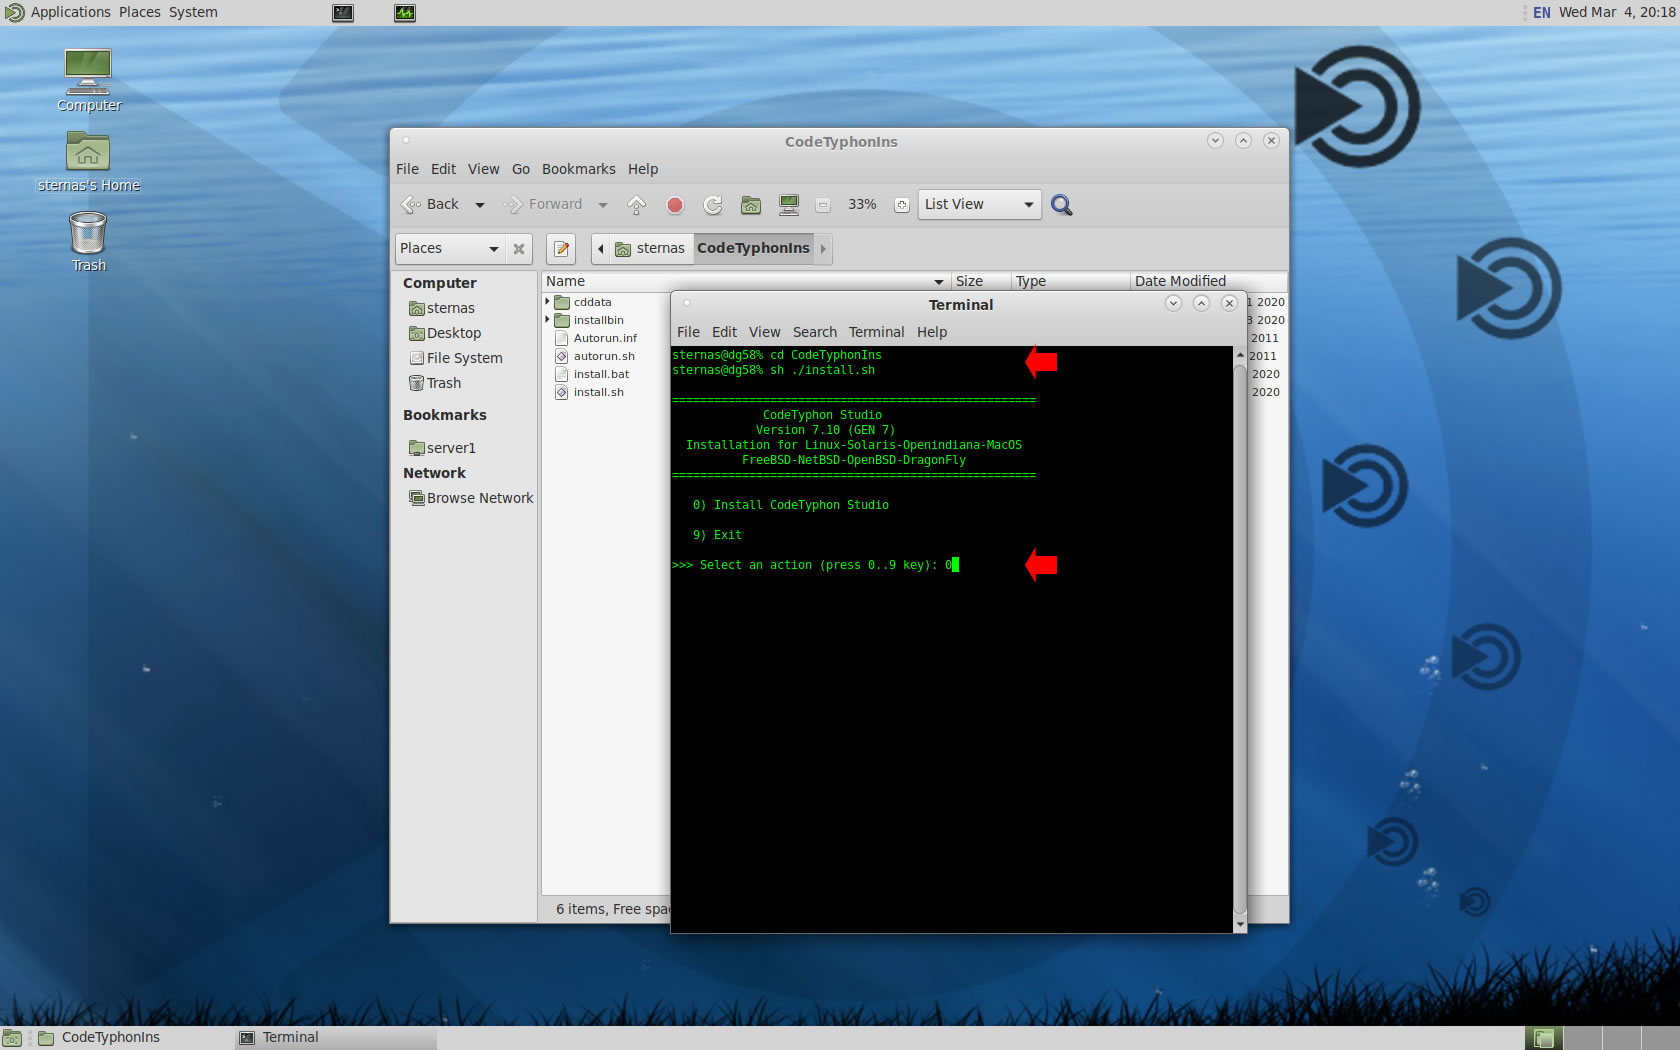
Open a terminal, and go to new CodeTyphonIns directory
cd CodeTyphonIns
Start CodeTyphon Installation with command
sh ./install.sh
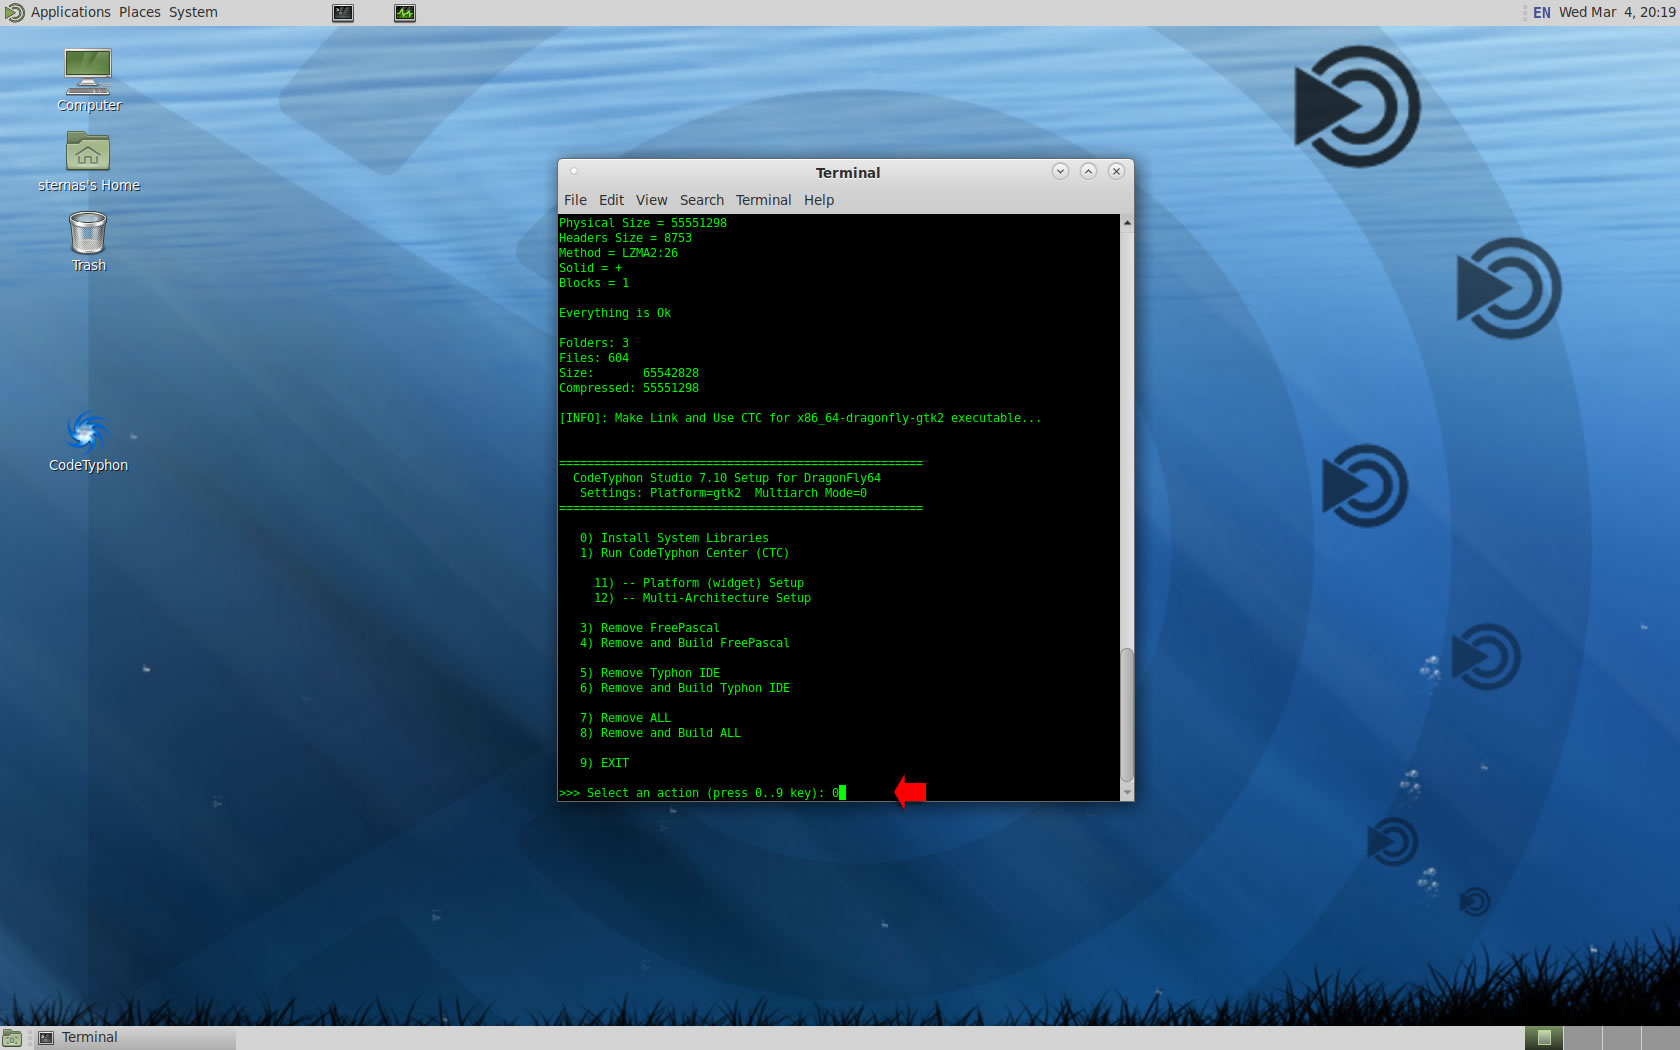
Give zero "0" to Install CodeTyphon
4. Setup and Build (GTK2)
After CT install you can start CTCenter or to continue with the open terminal
We don't change GTK2 Platform, MATE desktop based on GTK2.
It's the first installation of CodeTyphon on this PC, so we install "system libraries" select "0".
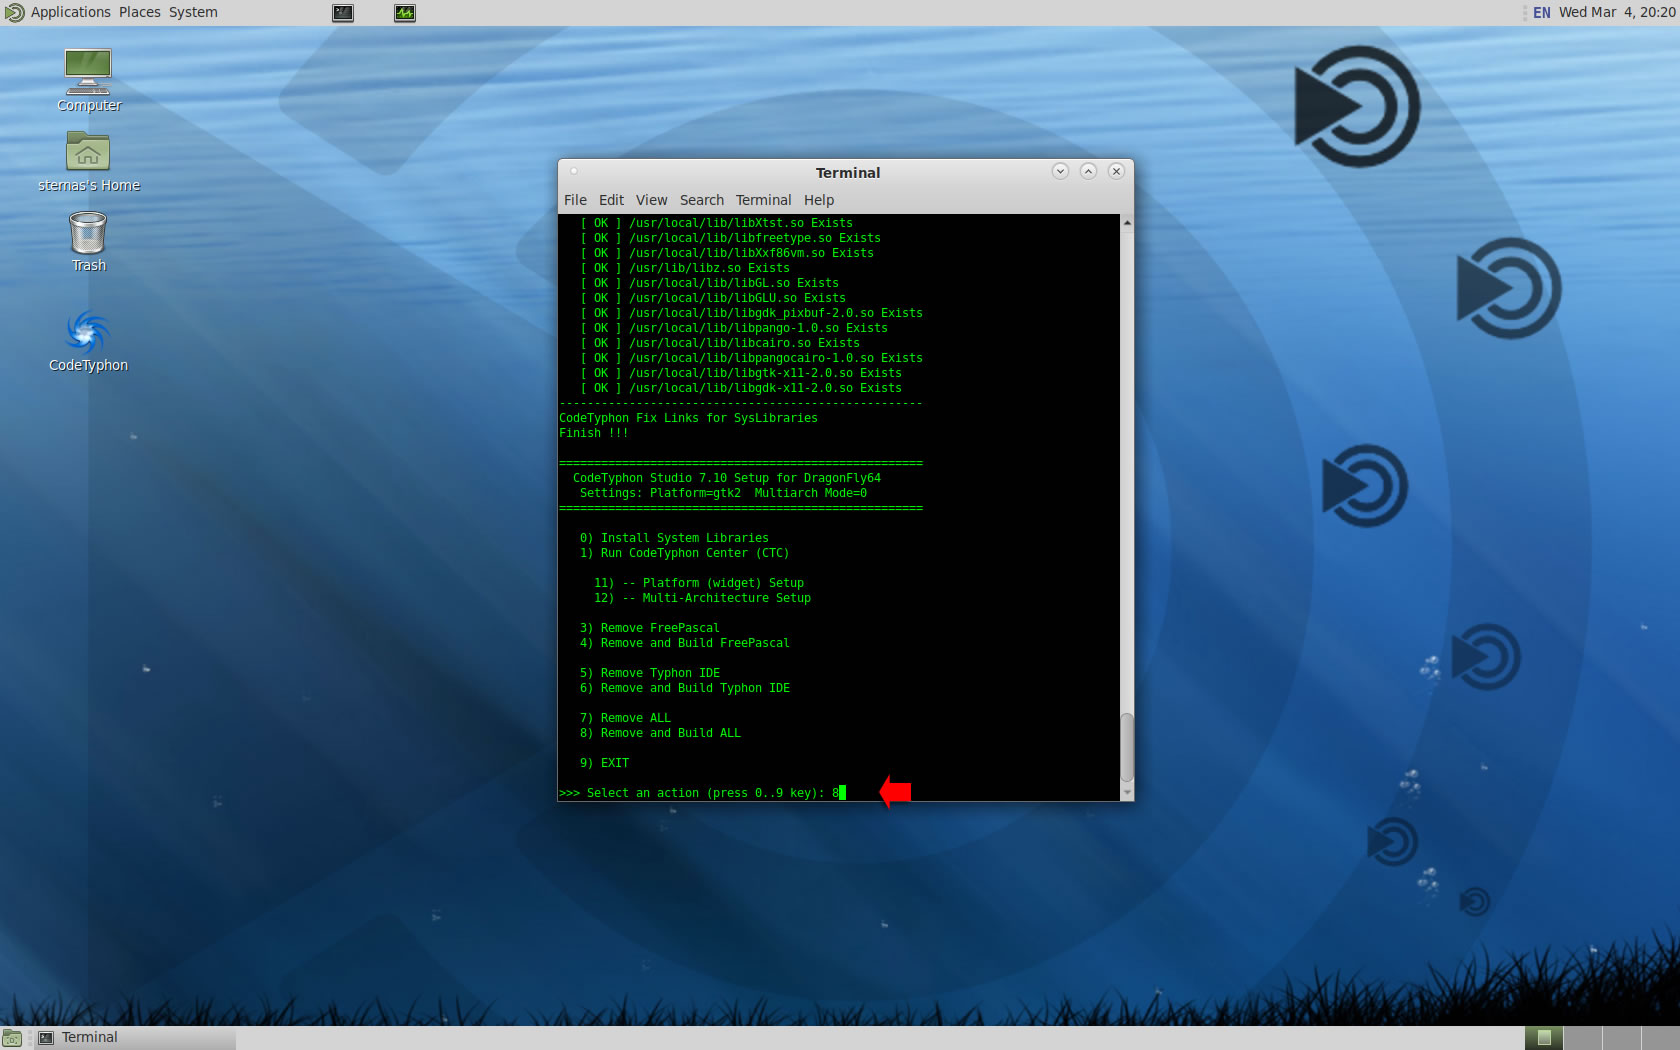
Select "8" to build all...
Finally
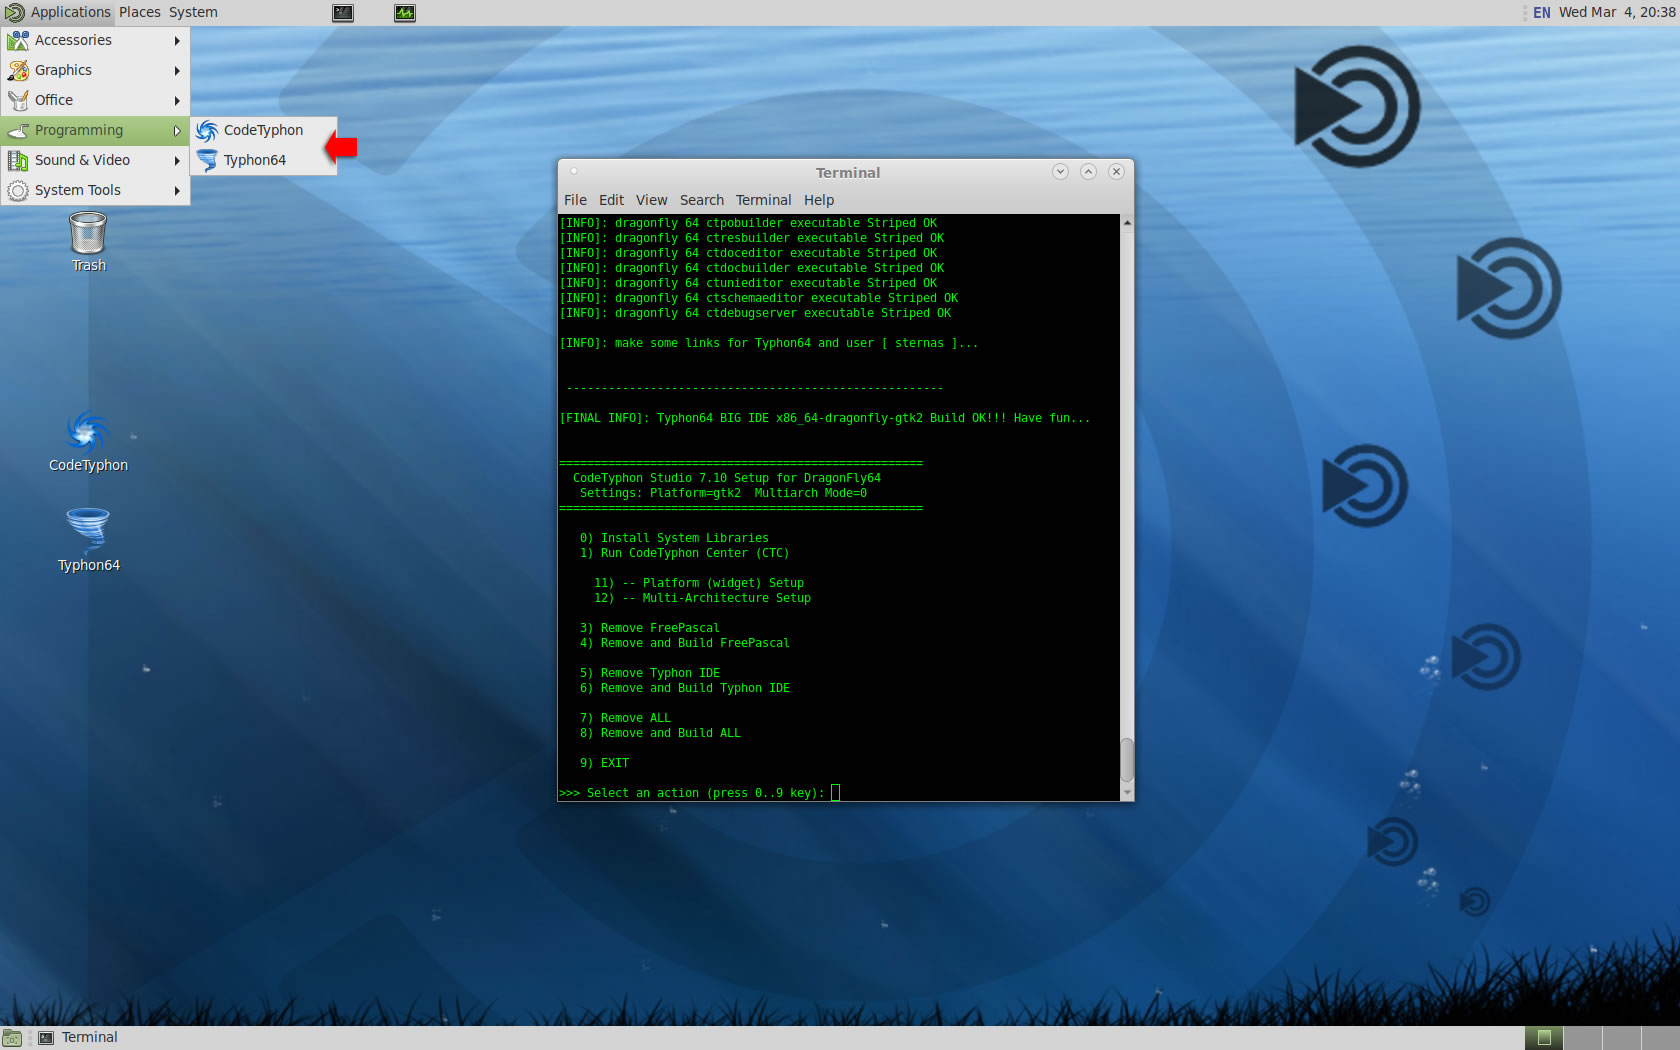
CTCenter and Typhon64 for GTK2
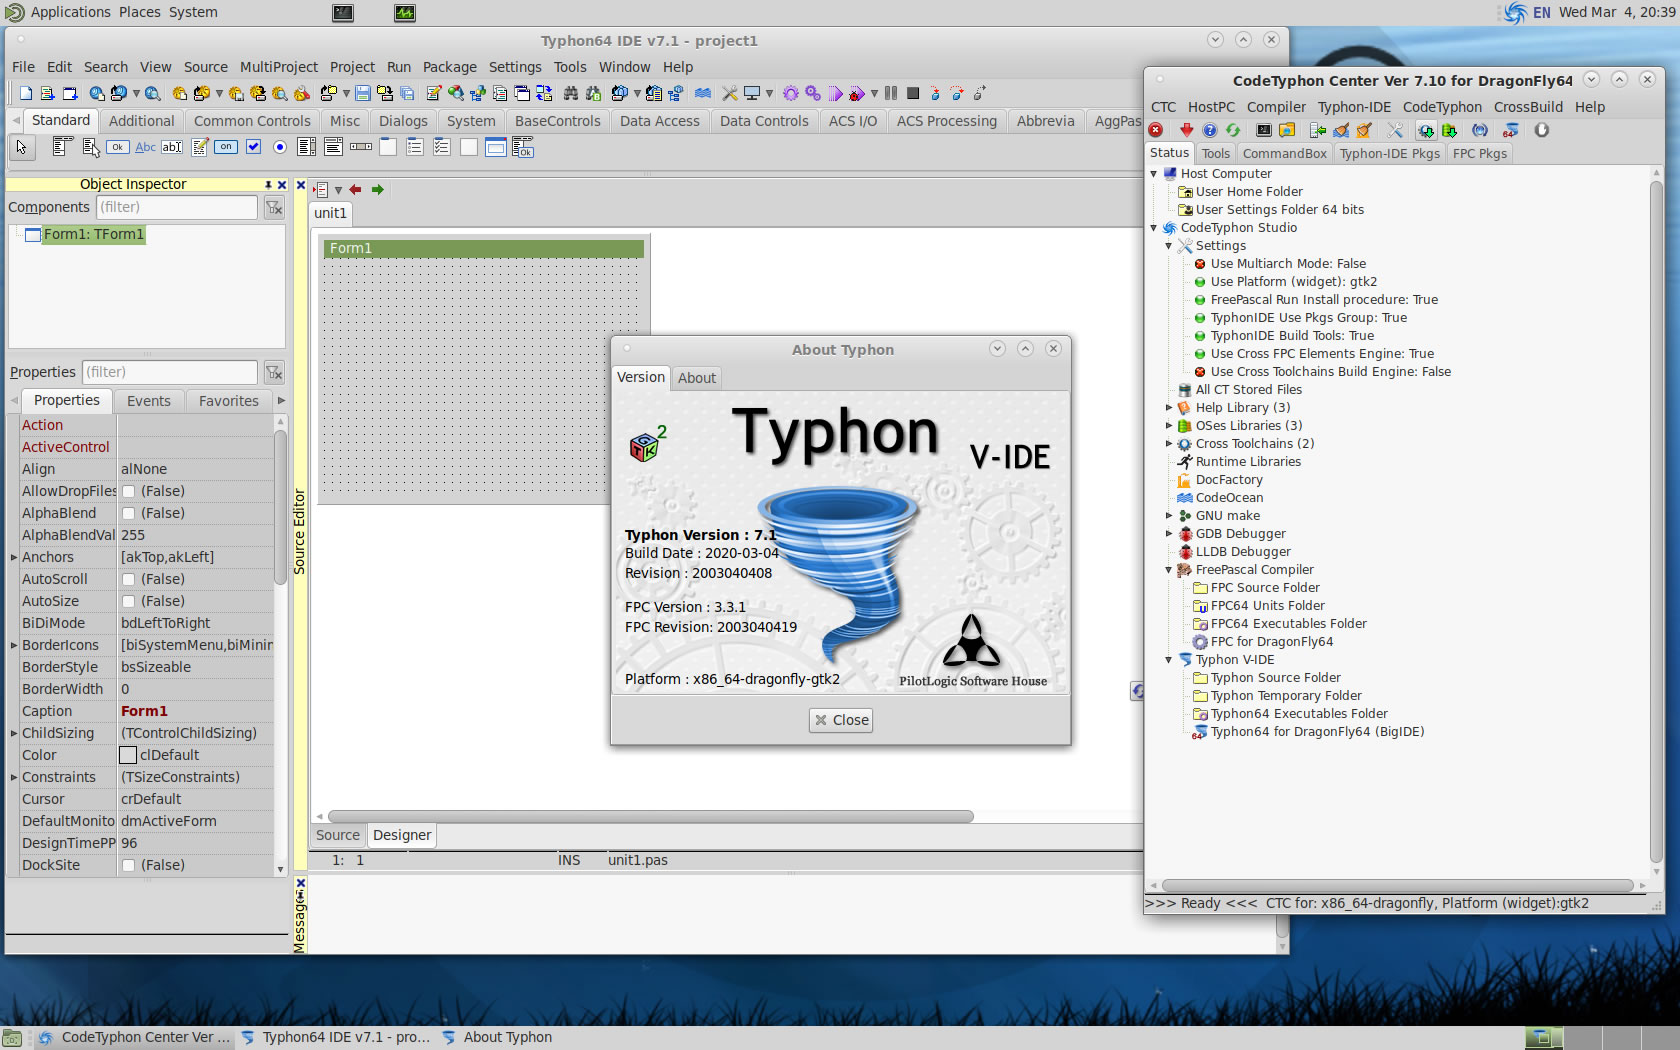
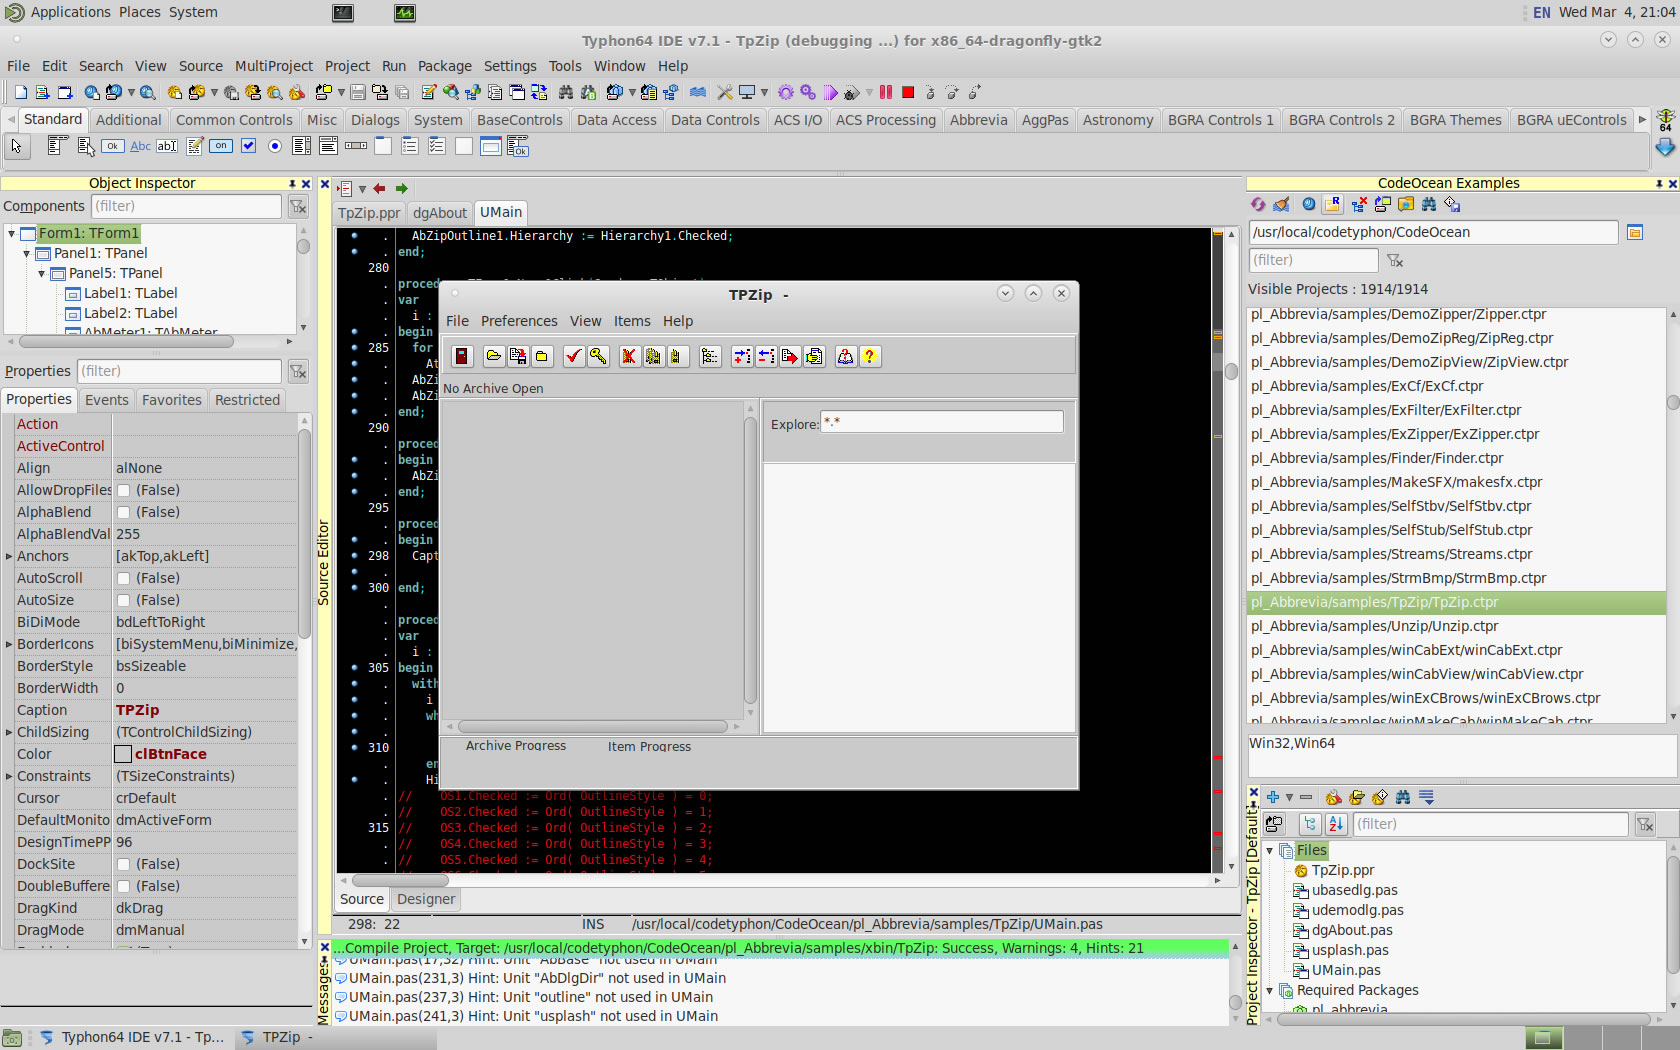
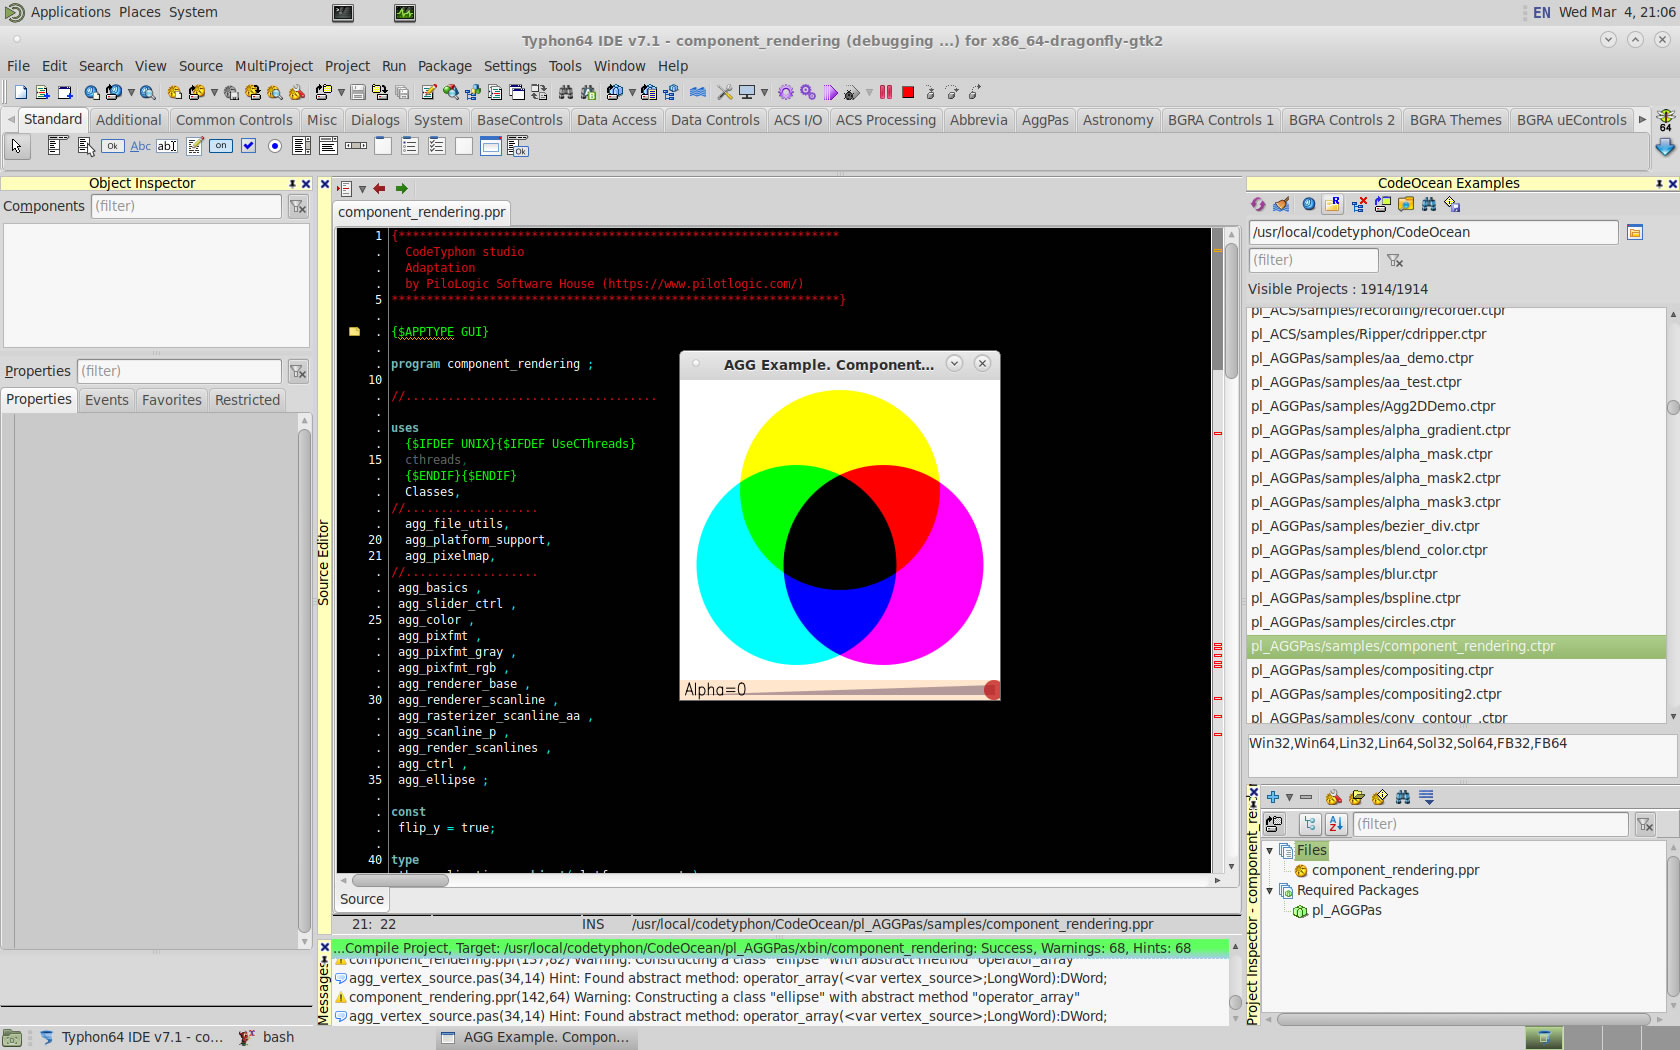
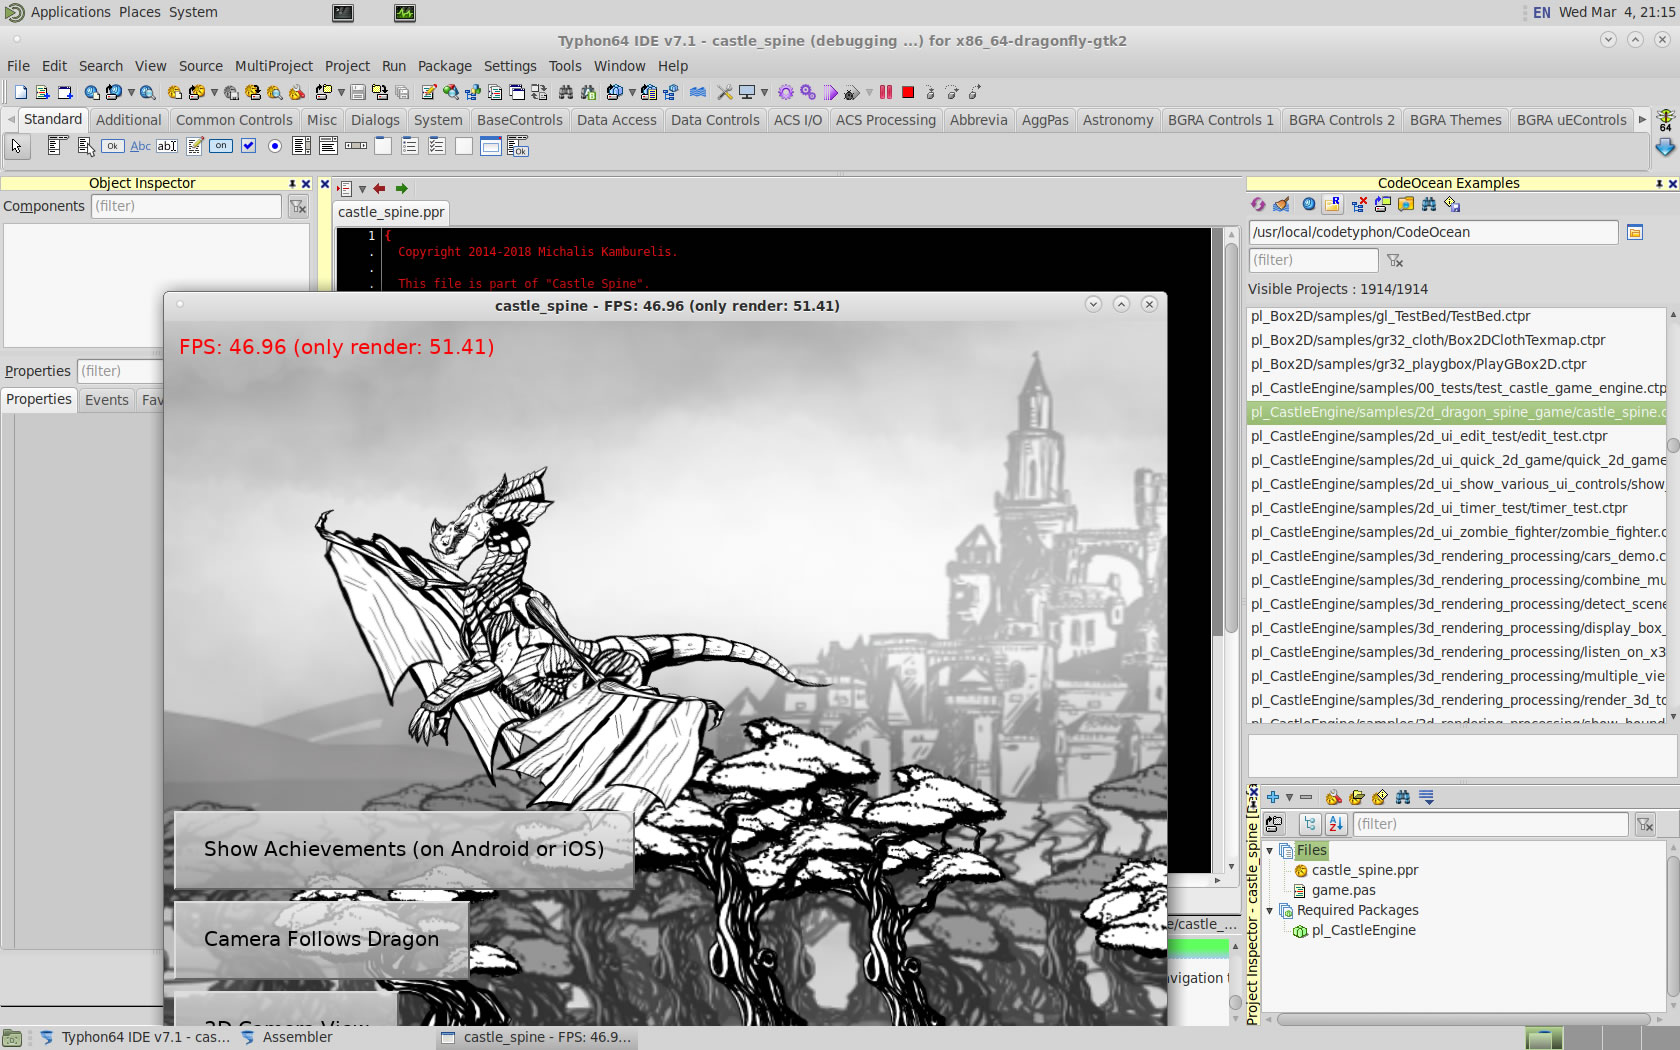
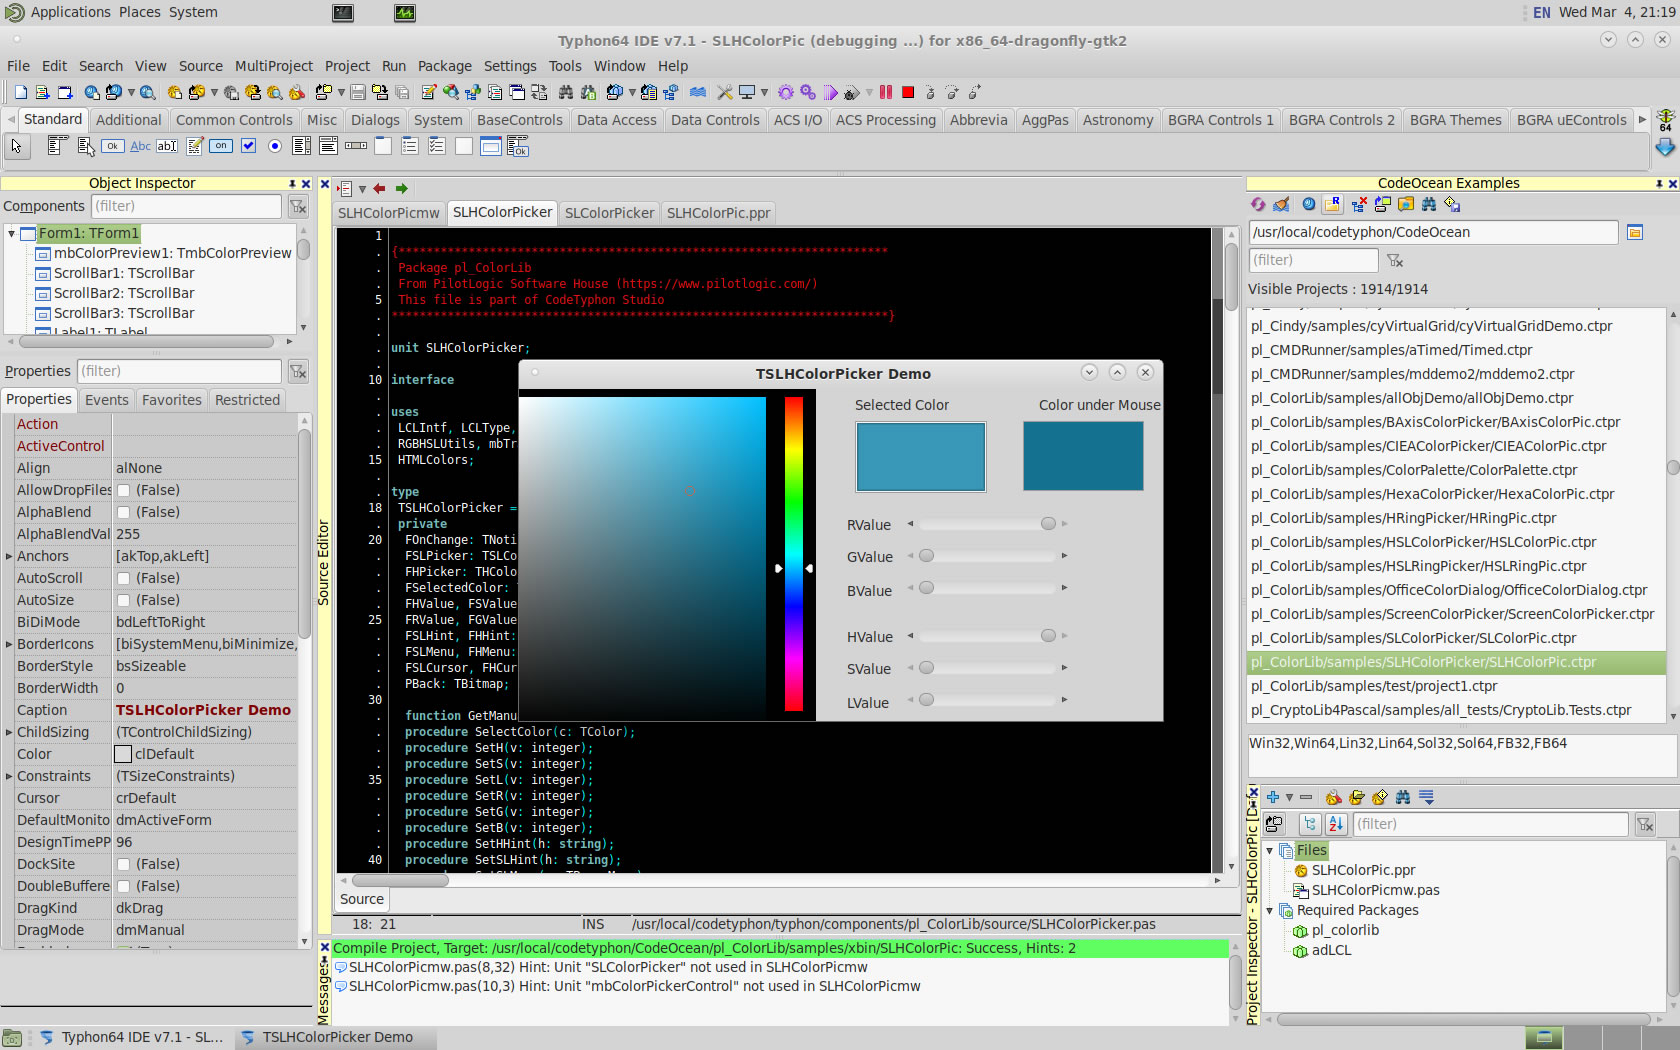
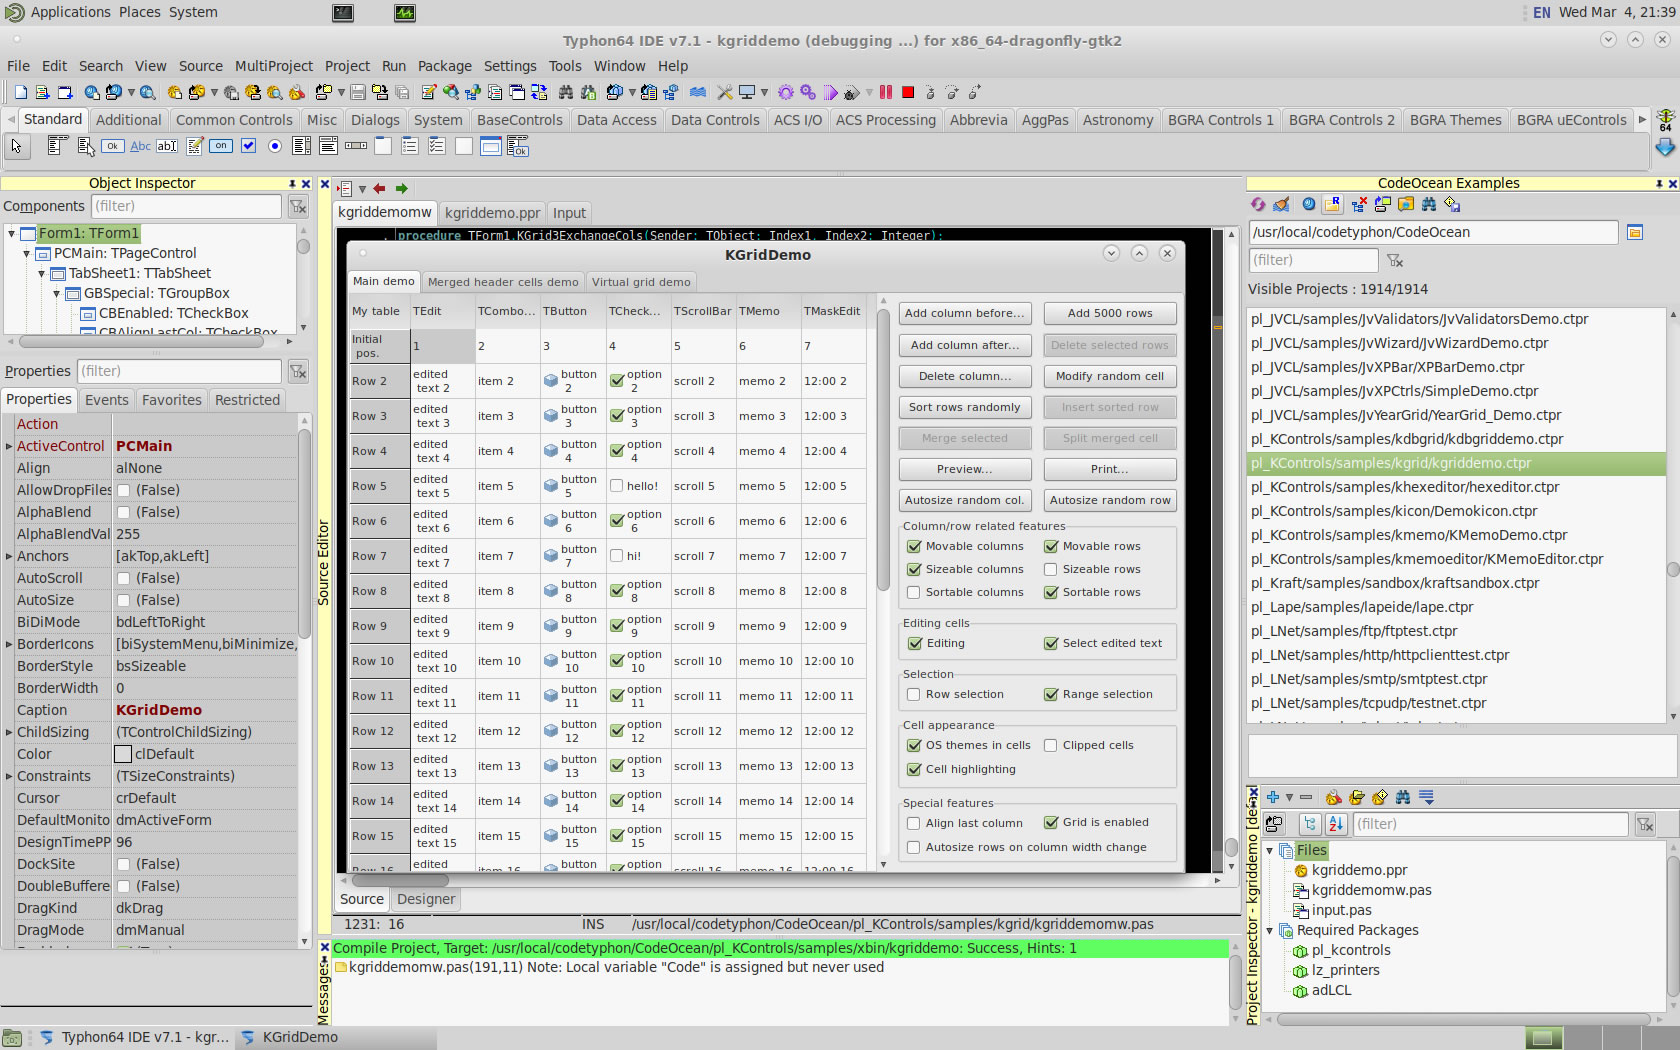
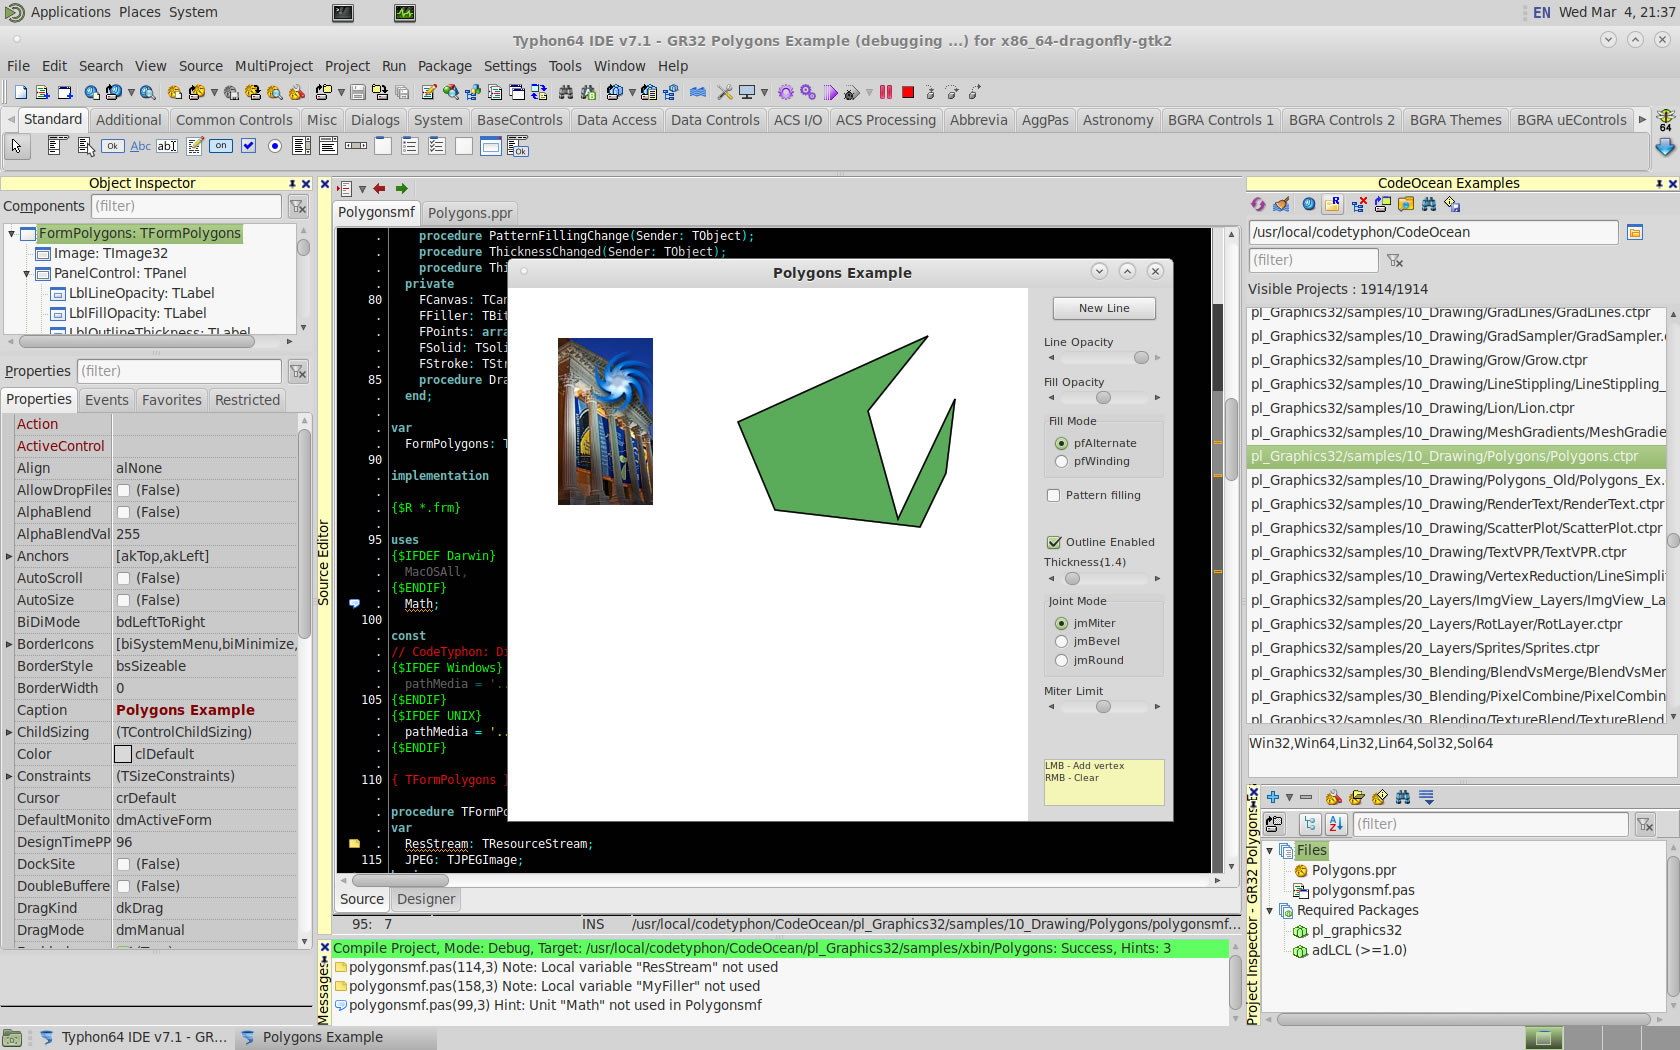
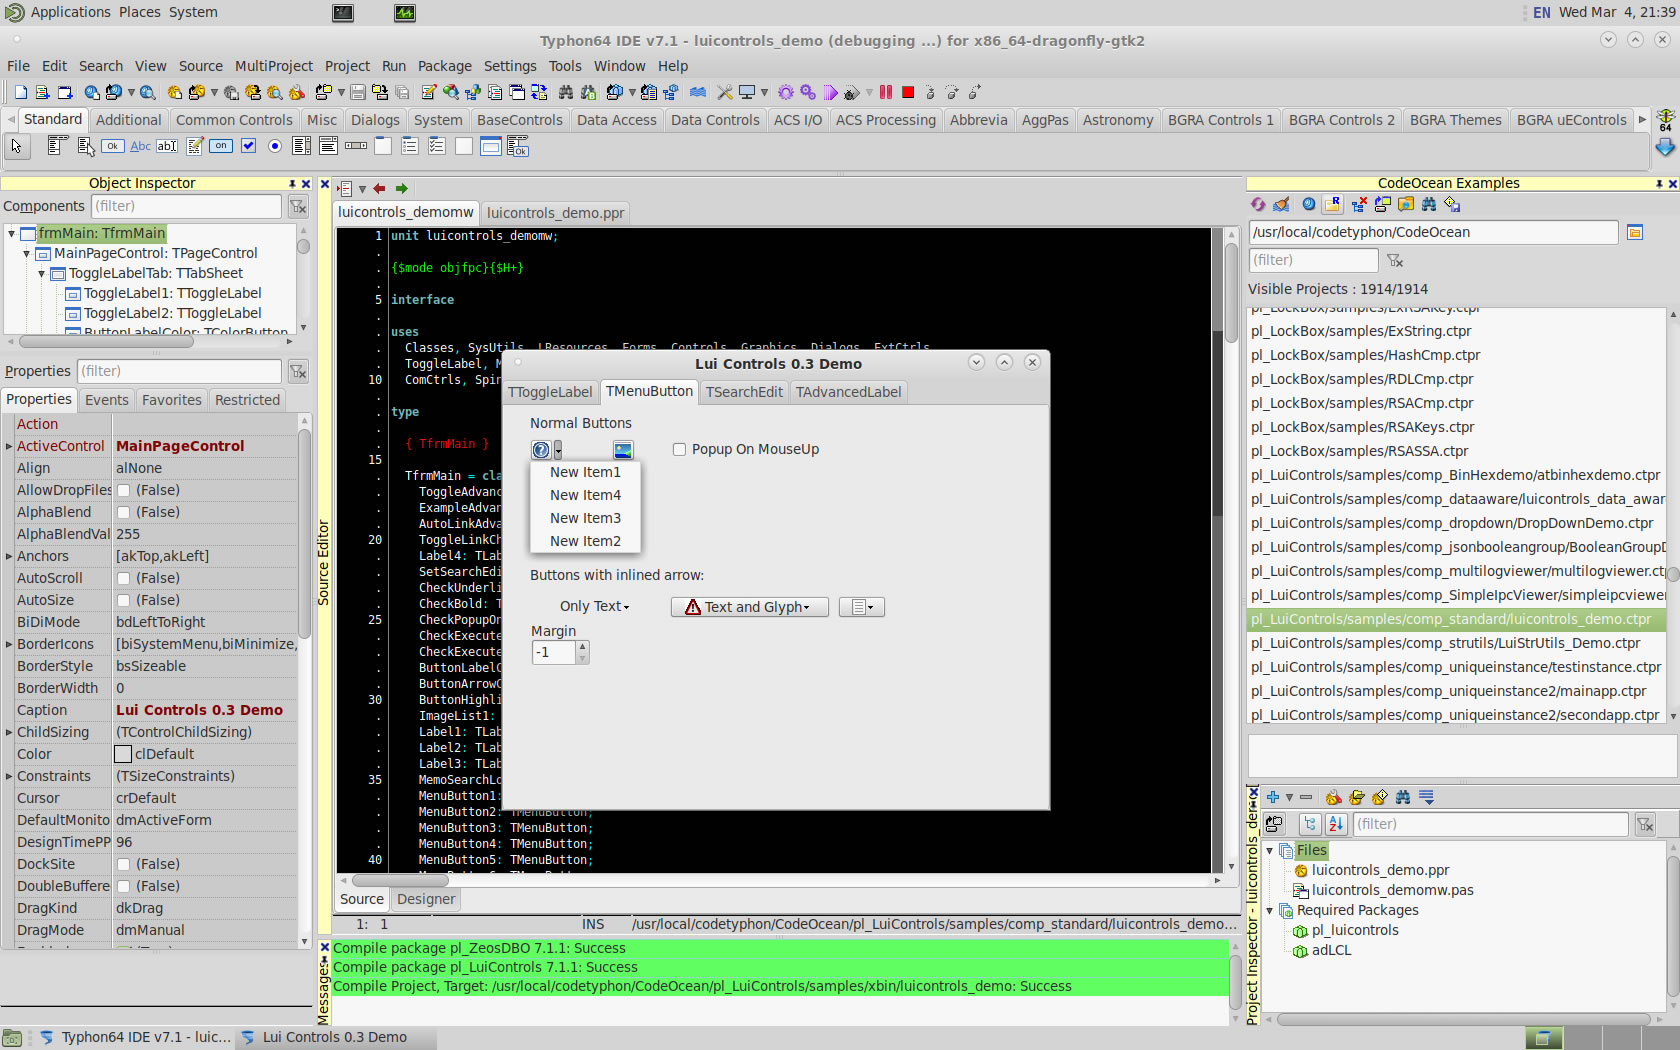
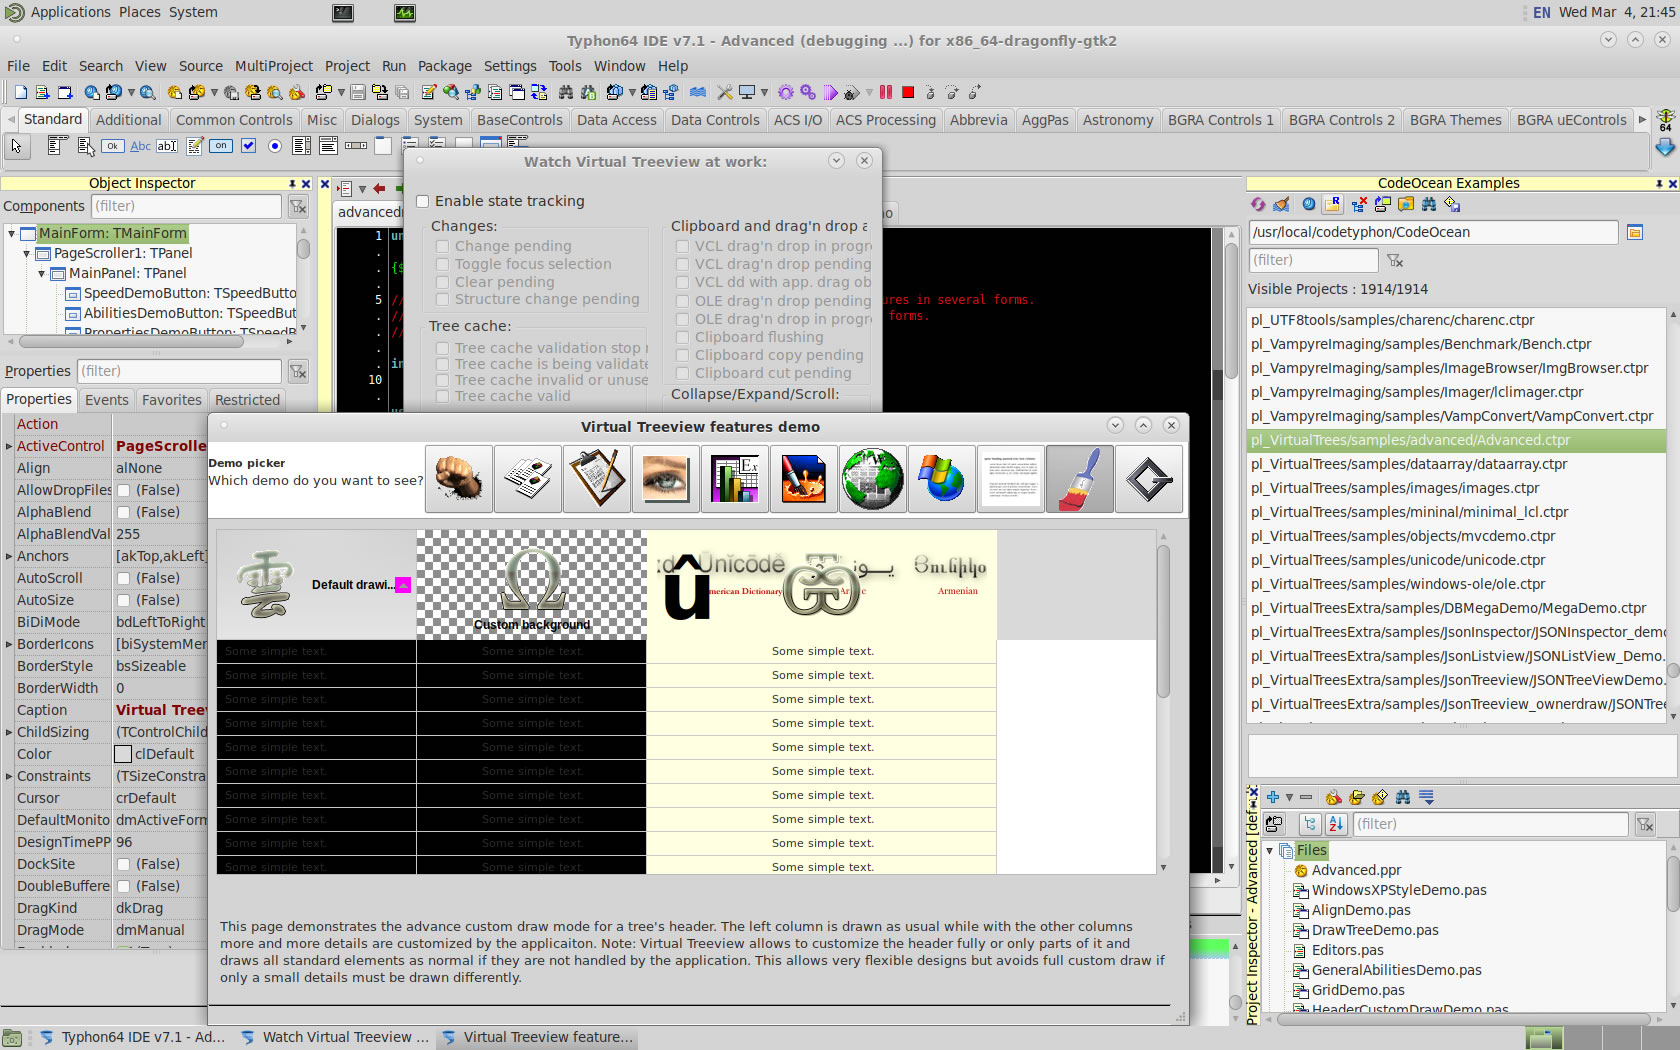
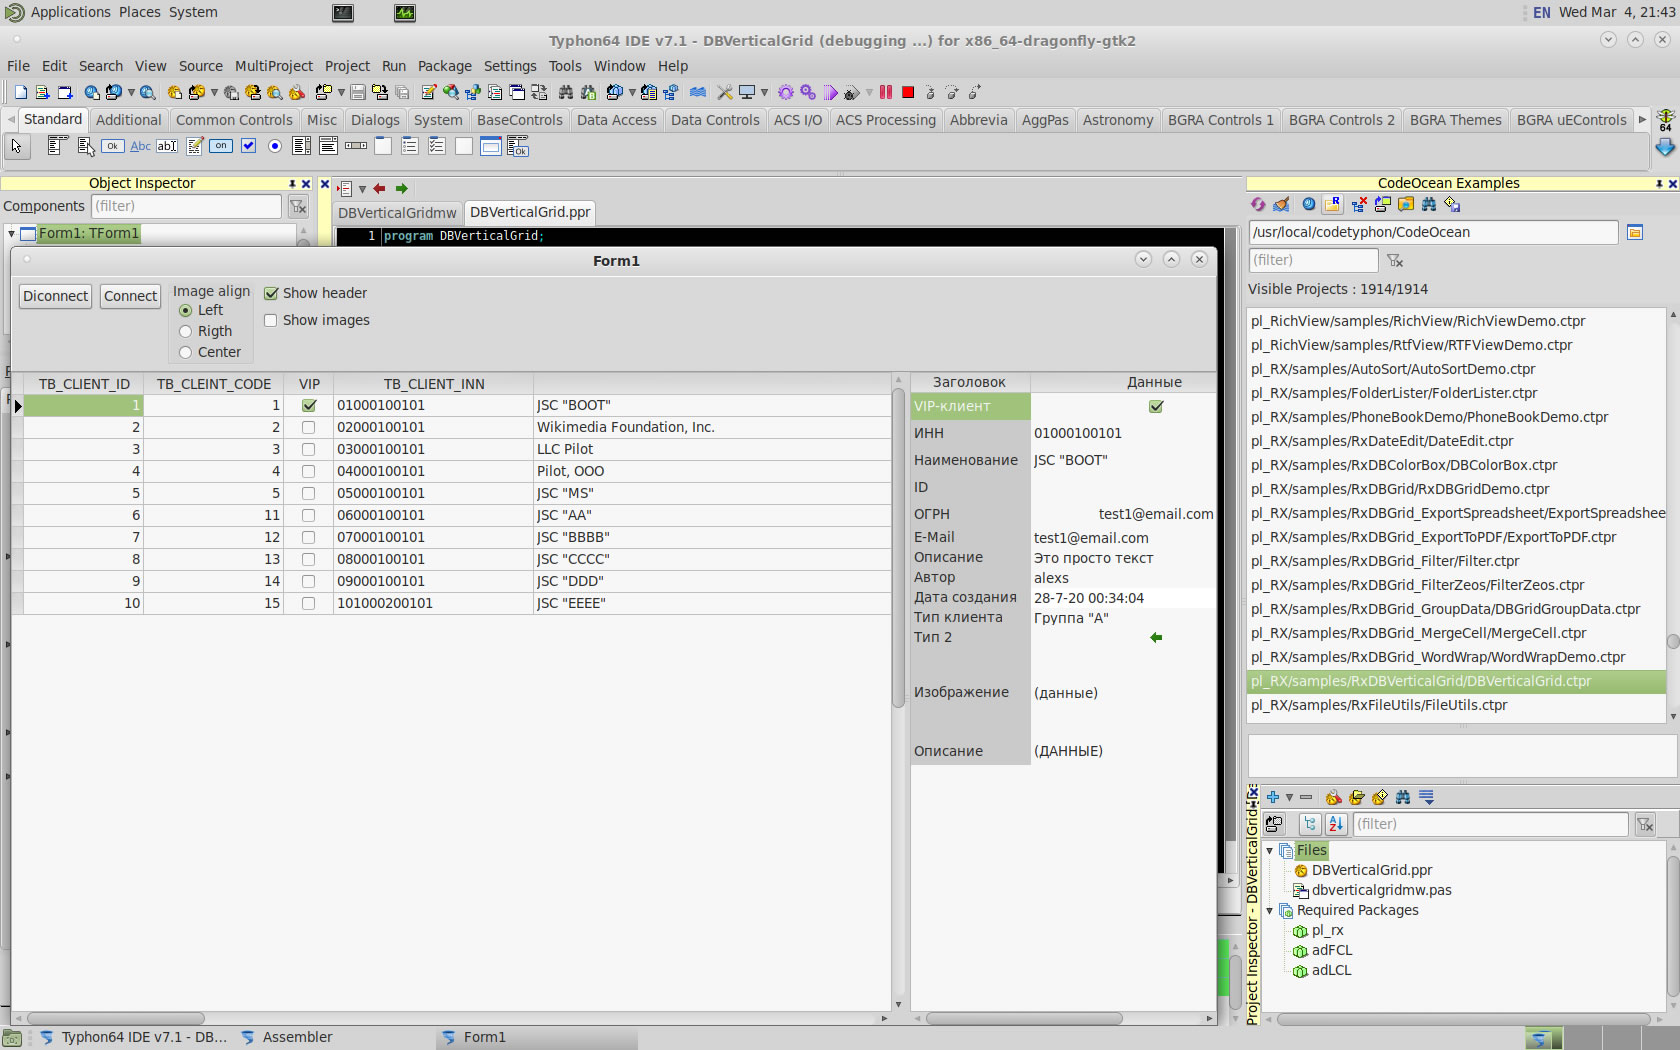
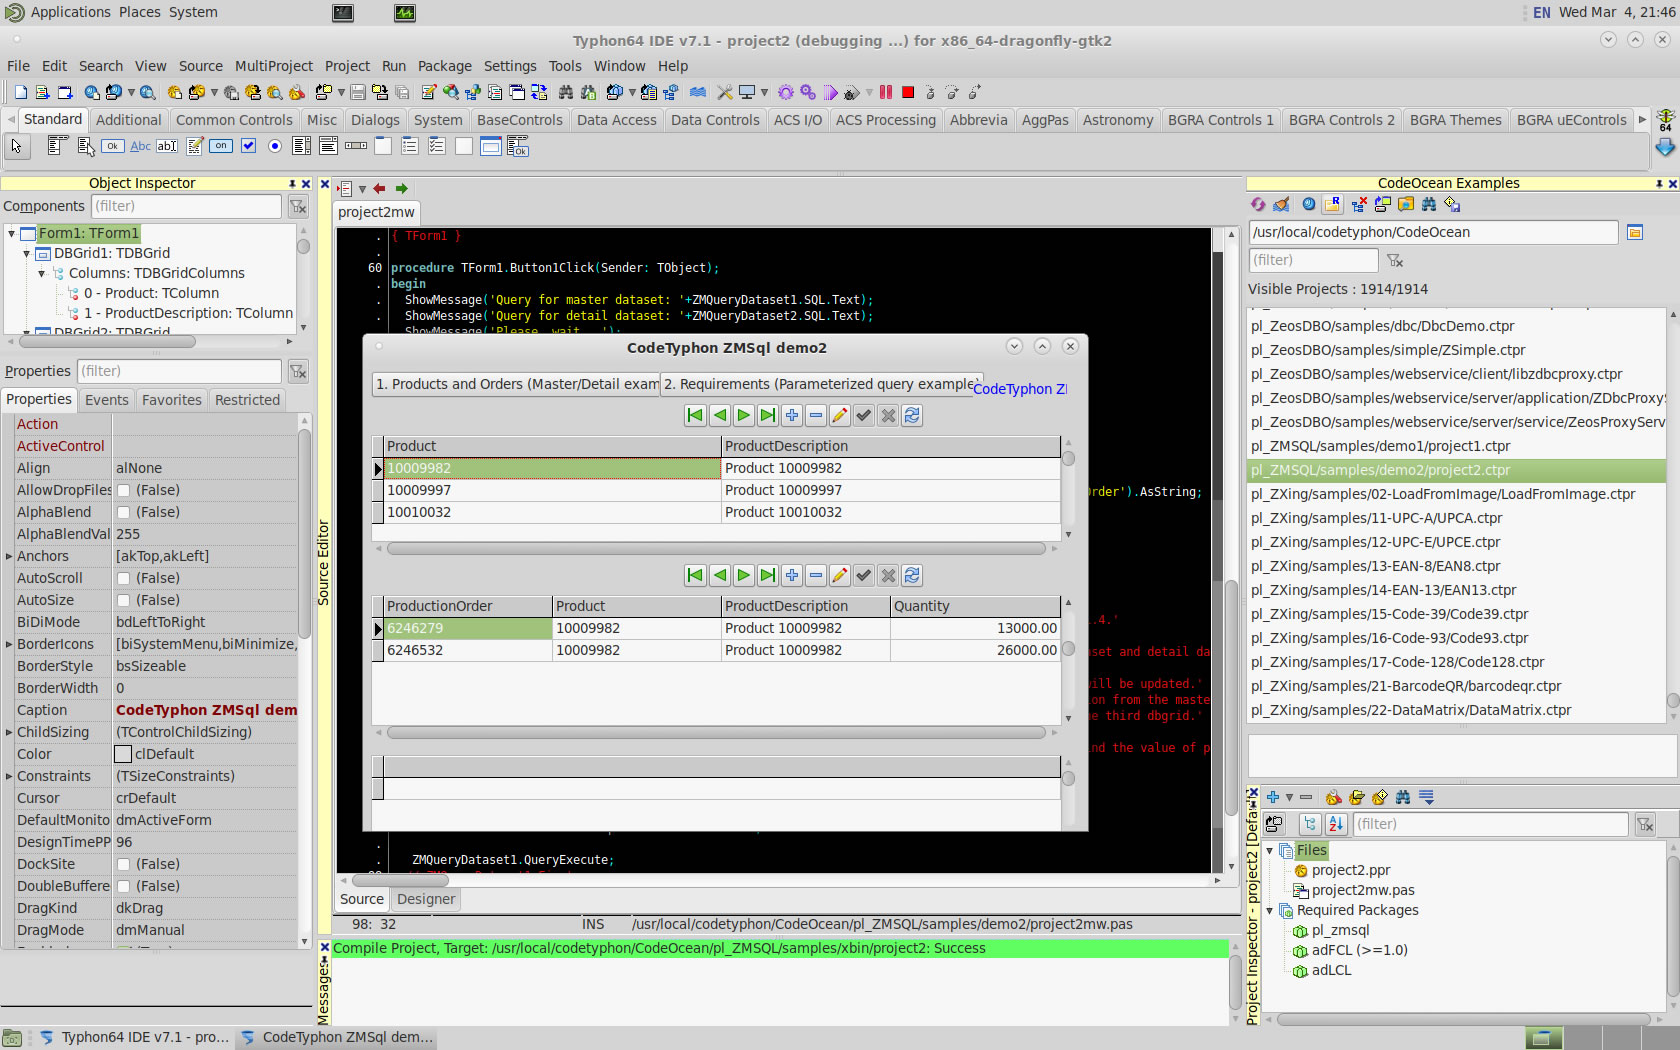
5. Libraries tests (GTK2)
Typhon IDE on DragonFly BSD has now about 146 packages.
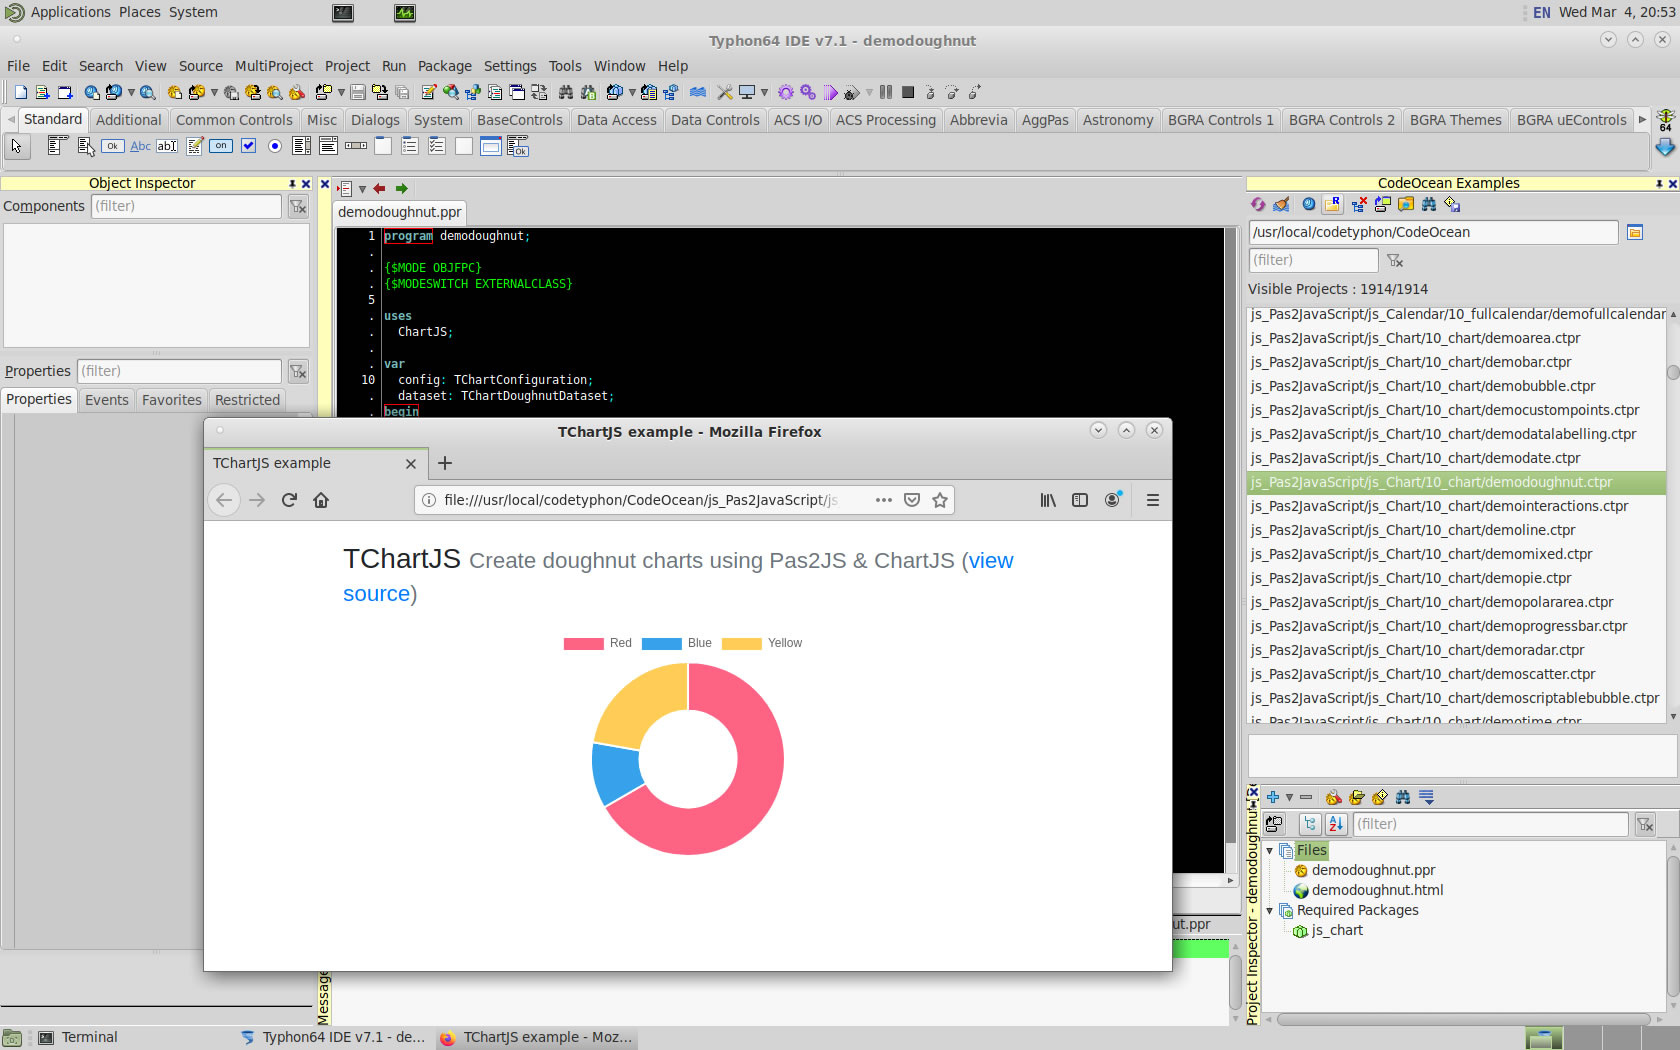
We test some of about 1900 CodeOcean samples...
js_Chart
js_WebGL !!!

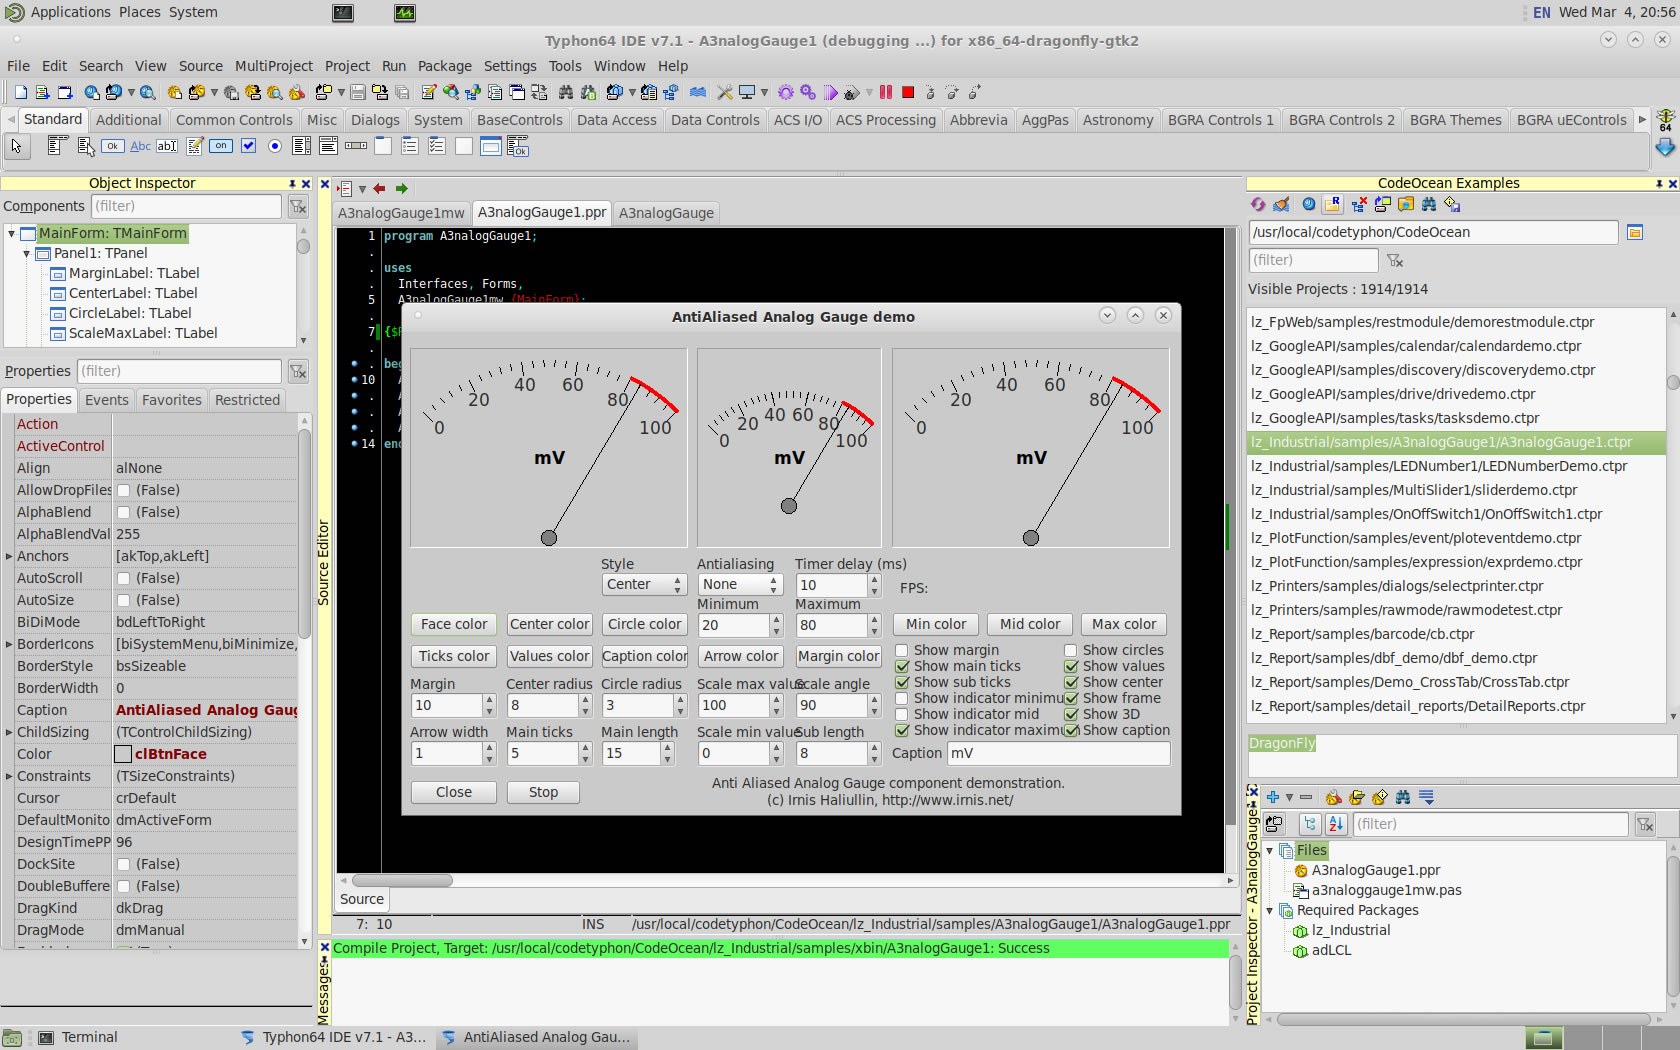
lz_Industrial
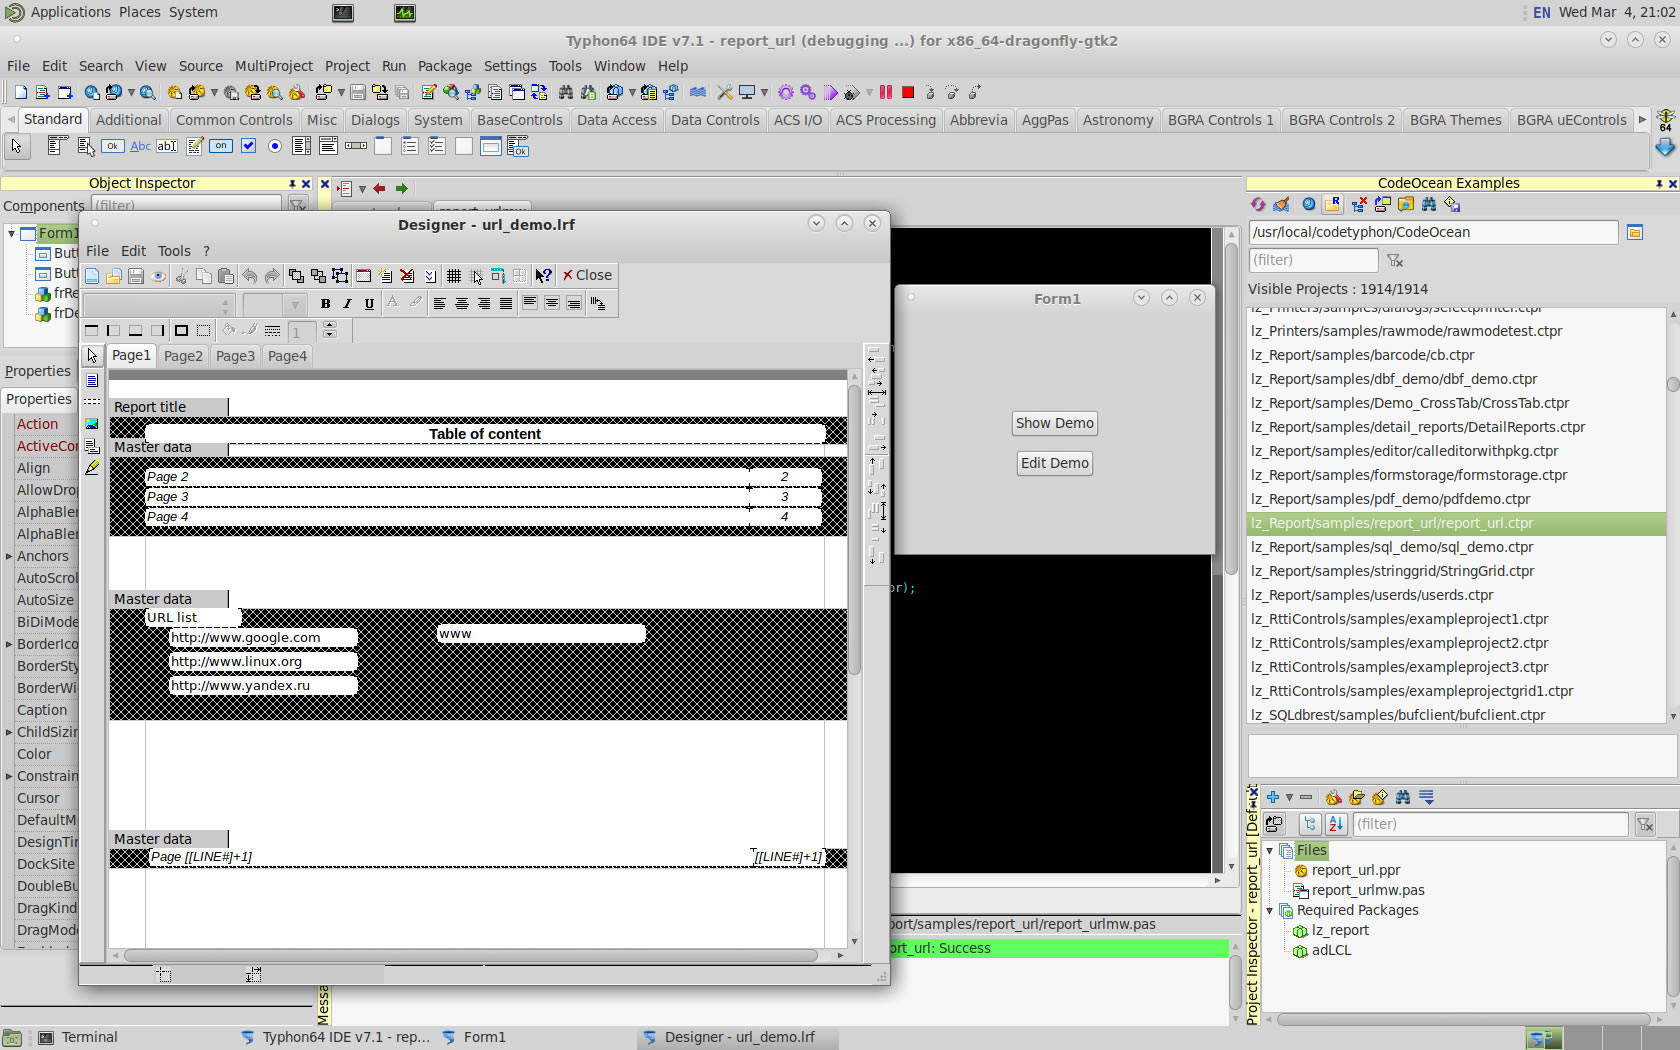
lz_Report
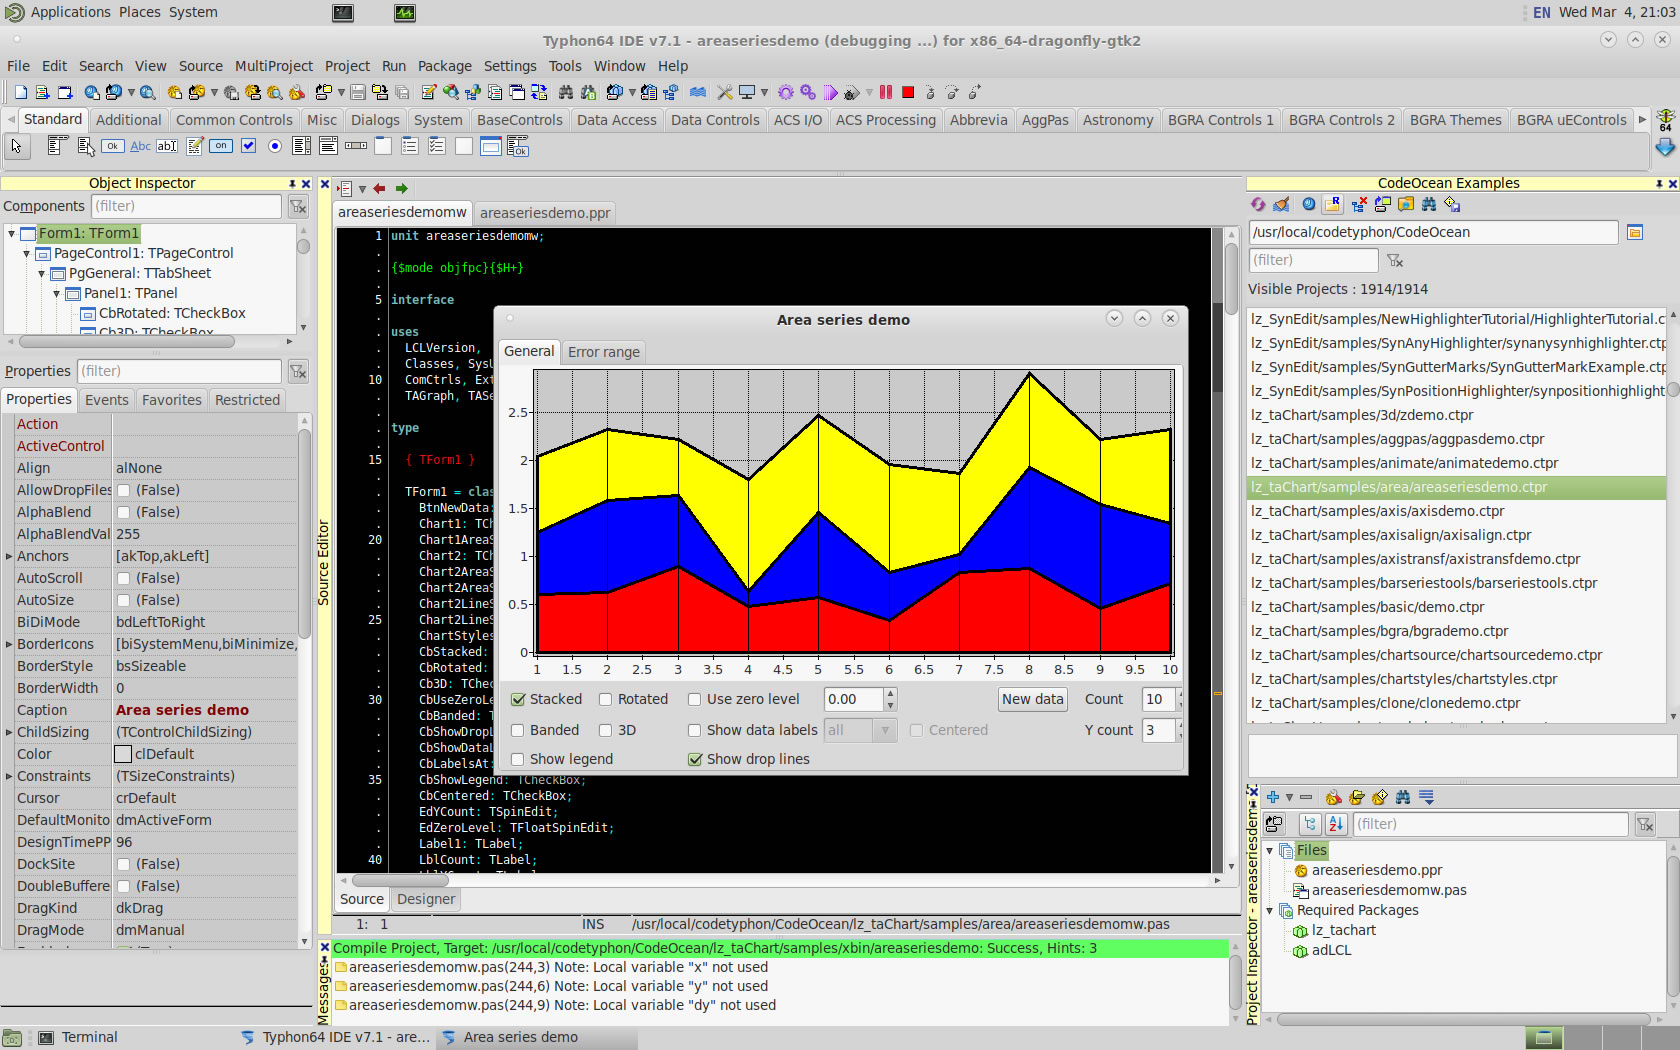
lz_taChart
pl_Abbrevia
pl_AGGPas
pl_Box2D

pl_CastleEngine
pl_ColorLib
pl_KControls
pl_Graphics32
pl_LuiControls
pl_VirtualTrees
pl_RX
pl_ZMSQL
6. Build Typhon IDE for QT5 (KDE5)
a) Switch Typhon IDE Host Platform to QT5
CodeTyphon Center => Setup Dialog
and select QT5 Platform
b) Only for the first time, install OS System Libraries
CodeTyphon Center =>HostPC=>"Install System Libraries"
c) Remove and Build Typhon IDE for new Platform (QT5)
CodeTyphon Center =>Typhon IDE=>"Remove and Build"