CT on Ubuntu 16.04 armhf
- Details
- Category: CodeTyphon Host OSes
- Published: Sunday, 02 April 2017 15:36
- Written by Matis A.
- Hits: 25537
We test Lab CodeTyphon 6.10 on Ubuntu armhf
Ubuntu MATE is a stable, easy-to-use operating system with a configurable desktop environment. It is ideal for those who want the most out of their computers and prefer a traditional desktop metaphor. With modest hardware requirements it is suitable for modern workstations, single board computers and older hardware alike. Ubuntu MATE makes modern computers fast and old computers usable.
It's one of our LAB Reference OSes (from 01-02-2019 our LAB Switch to Raspbian OS)
More for Ubuntu MATE OS here 
Raspberry Pi 3 Model B is the latest version of the circuit-board computer that caused such a fuss in 2012.
This is the most powerful version. To some this may seem the sort of annual refresh from your favourite phone makers.
However, in adding greater power and both Wi-Fi and Bluetooth to the Pi without increasing the price, it's now a more versatile "all-in-one" board. For almost everyone, it’s clearly the best Pi yet.
More for Raspberry Pi 3 Model B board here
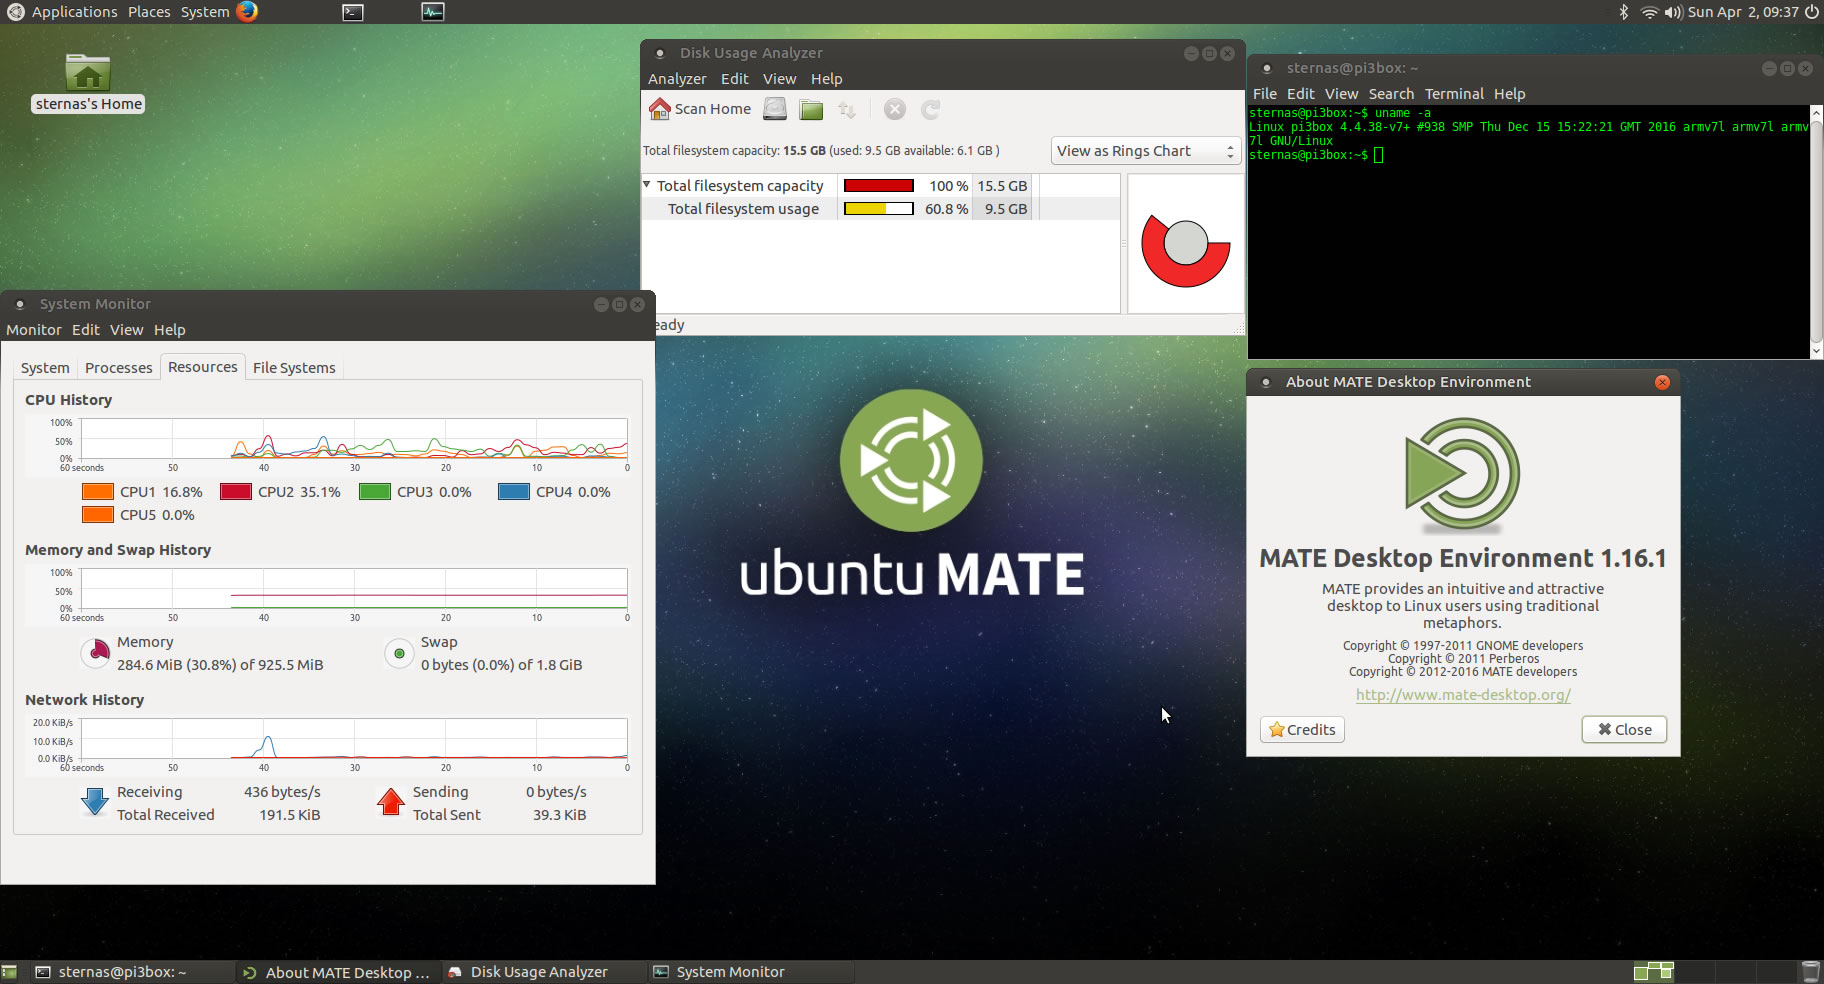
System: Micro level PC (Raspberry Pi 3 Model B) with 1CPU (4 cores) / 1 Gbyte RAM / 16 Gbytes Micro-SD / 1920x1080 pixels Monitor
OS : Ubuntu 16.04 MATE armhf (ubuntu-mate-16.04.2-desktop-armhf-raspberry-pi.img.xz)
1. OS things and stuff..
We use 16 Gbytes microSD for this test (SanDisk Ultra microSDXC UHS-I Class 10 U1)
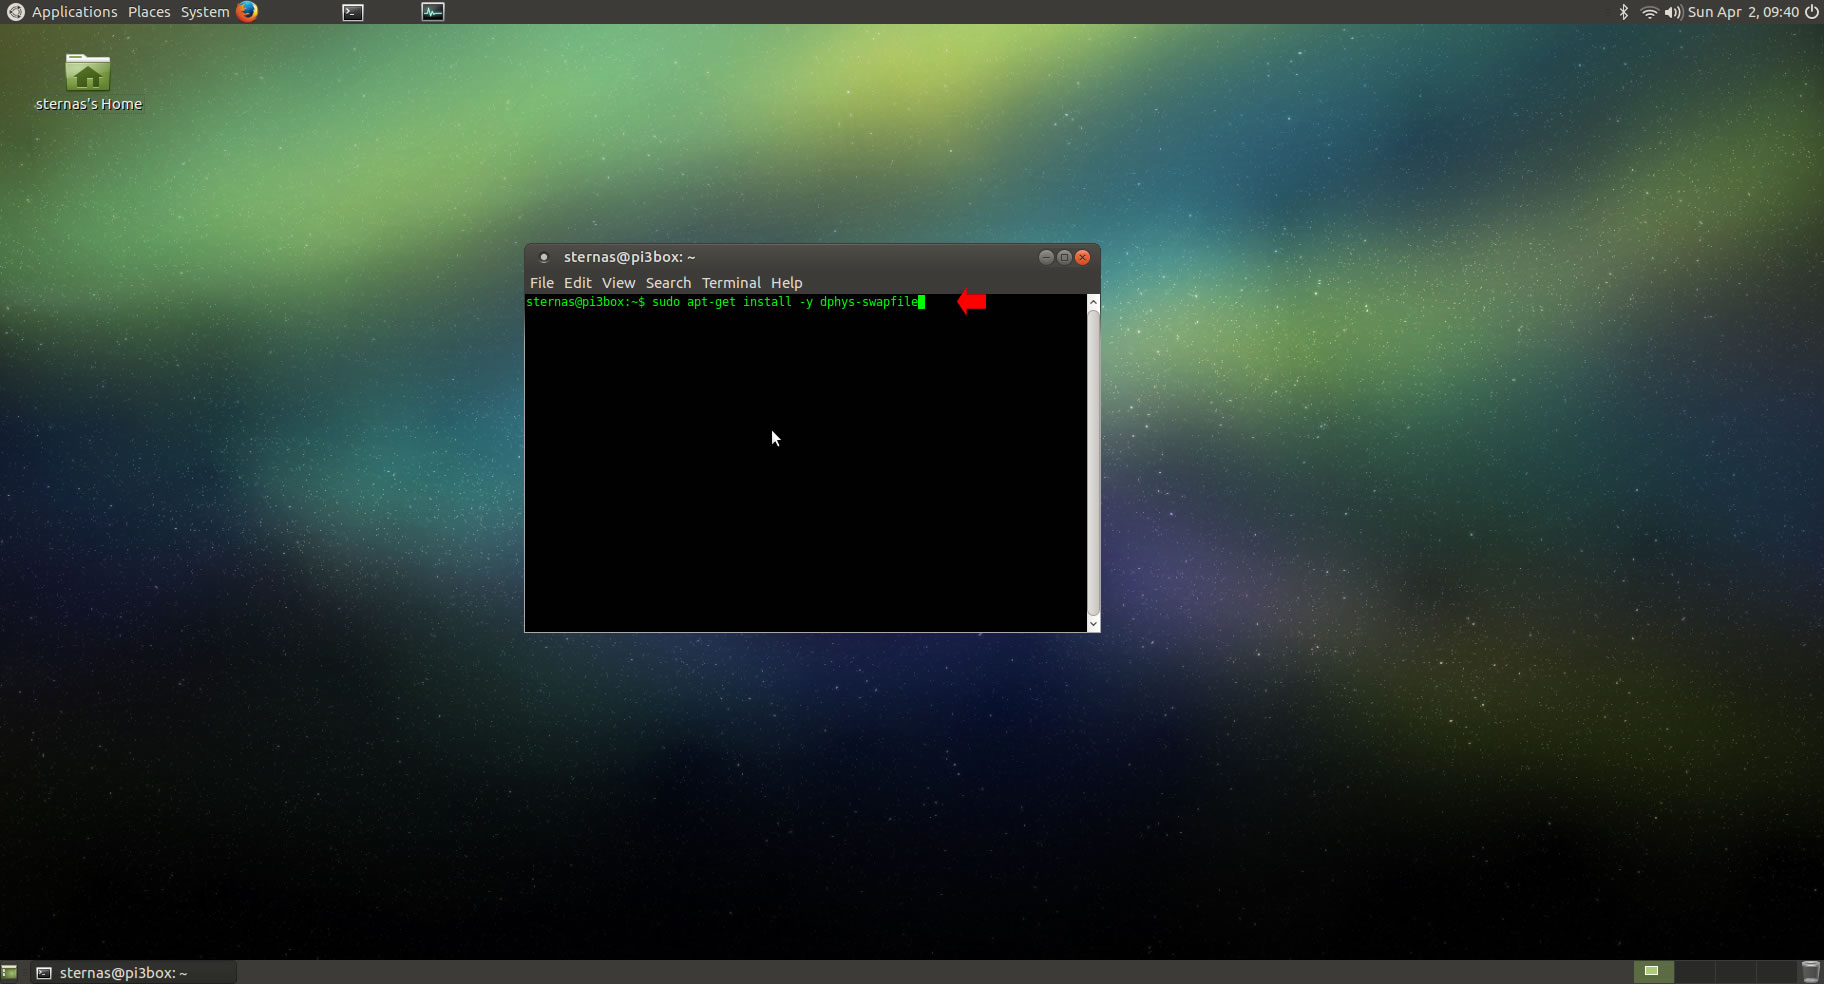
We must enable swapfile to prevent ‘out of memory’ during compilation.
Install dphys-swapfile (dynamic swap space)
in a terminal exec
sudo apt-get install -y dphys-swapfile
Start dphys-swapfile service
in a terminal exec
sudo /etc/init.d/dphys-swapfile start
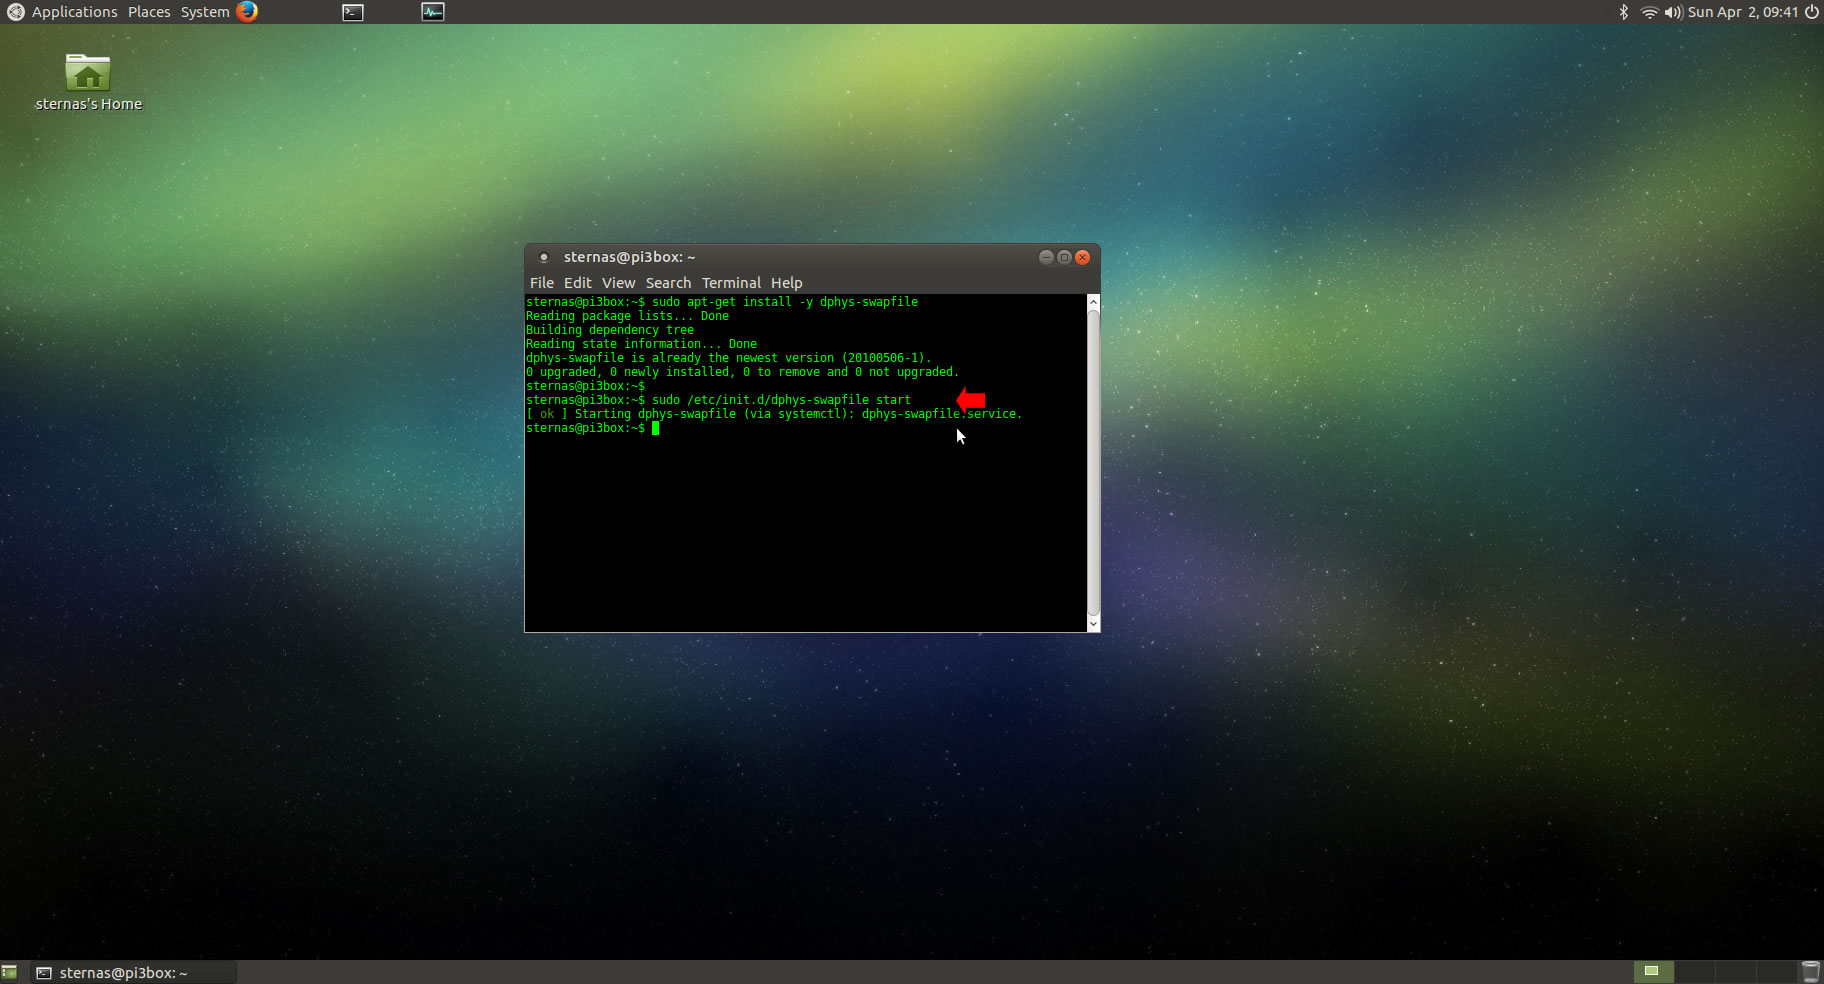
After dphys-swapfile installation your Pi3 will have 1.8 GBytes swapfile.
If NOT, set to dphys-swapfile configuration file CONF_SWAPSIZE = 1800 MBytes
sudo nano /etc/dphys-swapfile
and set:
CONF_SWAPSIZE=1800
Restart dphys-swapfile
sudo /etc/init.d/dphys-swapfile restart
2. Preparation-Give "sudo" root privileges
Open a terminal and exec
sudo nano /etc/sudoers

add at the end of /etc/sudoers the line
username ALL=(ALL) NOPASSWD: ALL

Ctl-X to exit and Y to save
3. Download-Unzip-Install
Download CodeTyphonIns.zip and unzip to your home directory
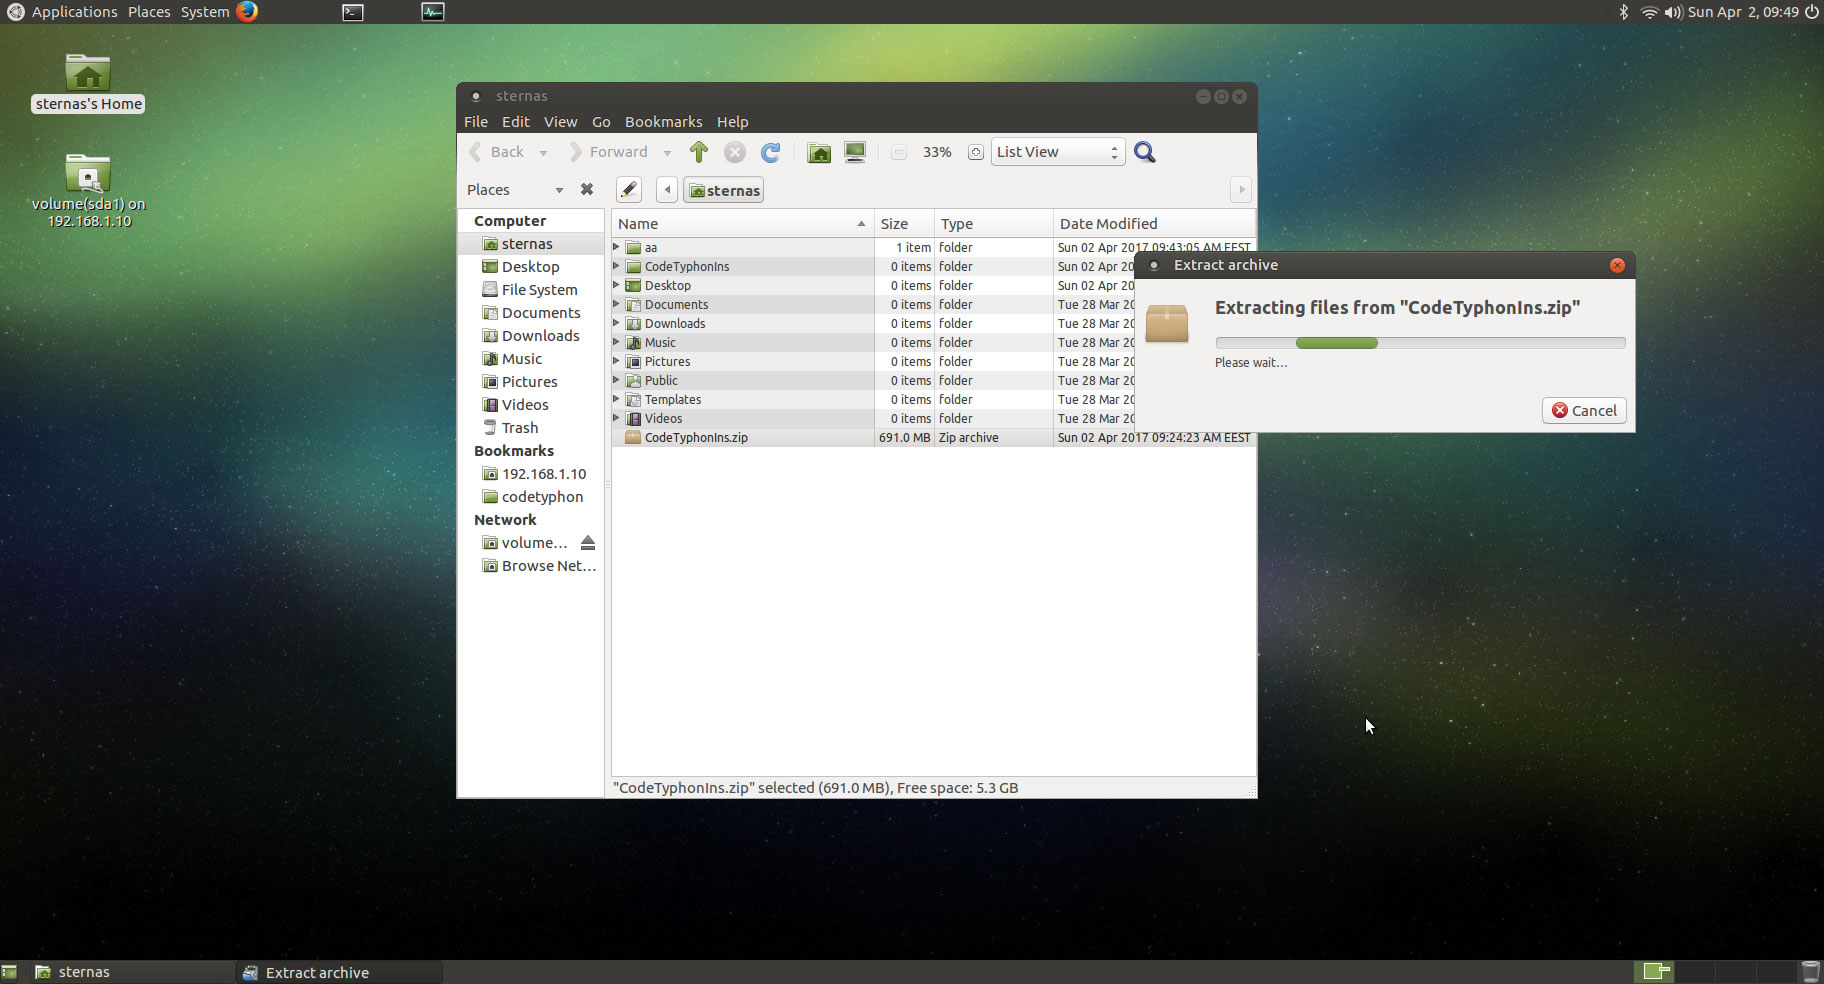
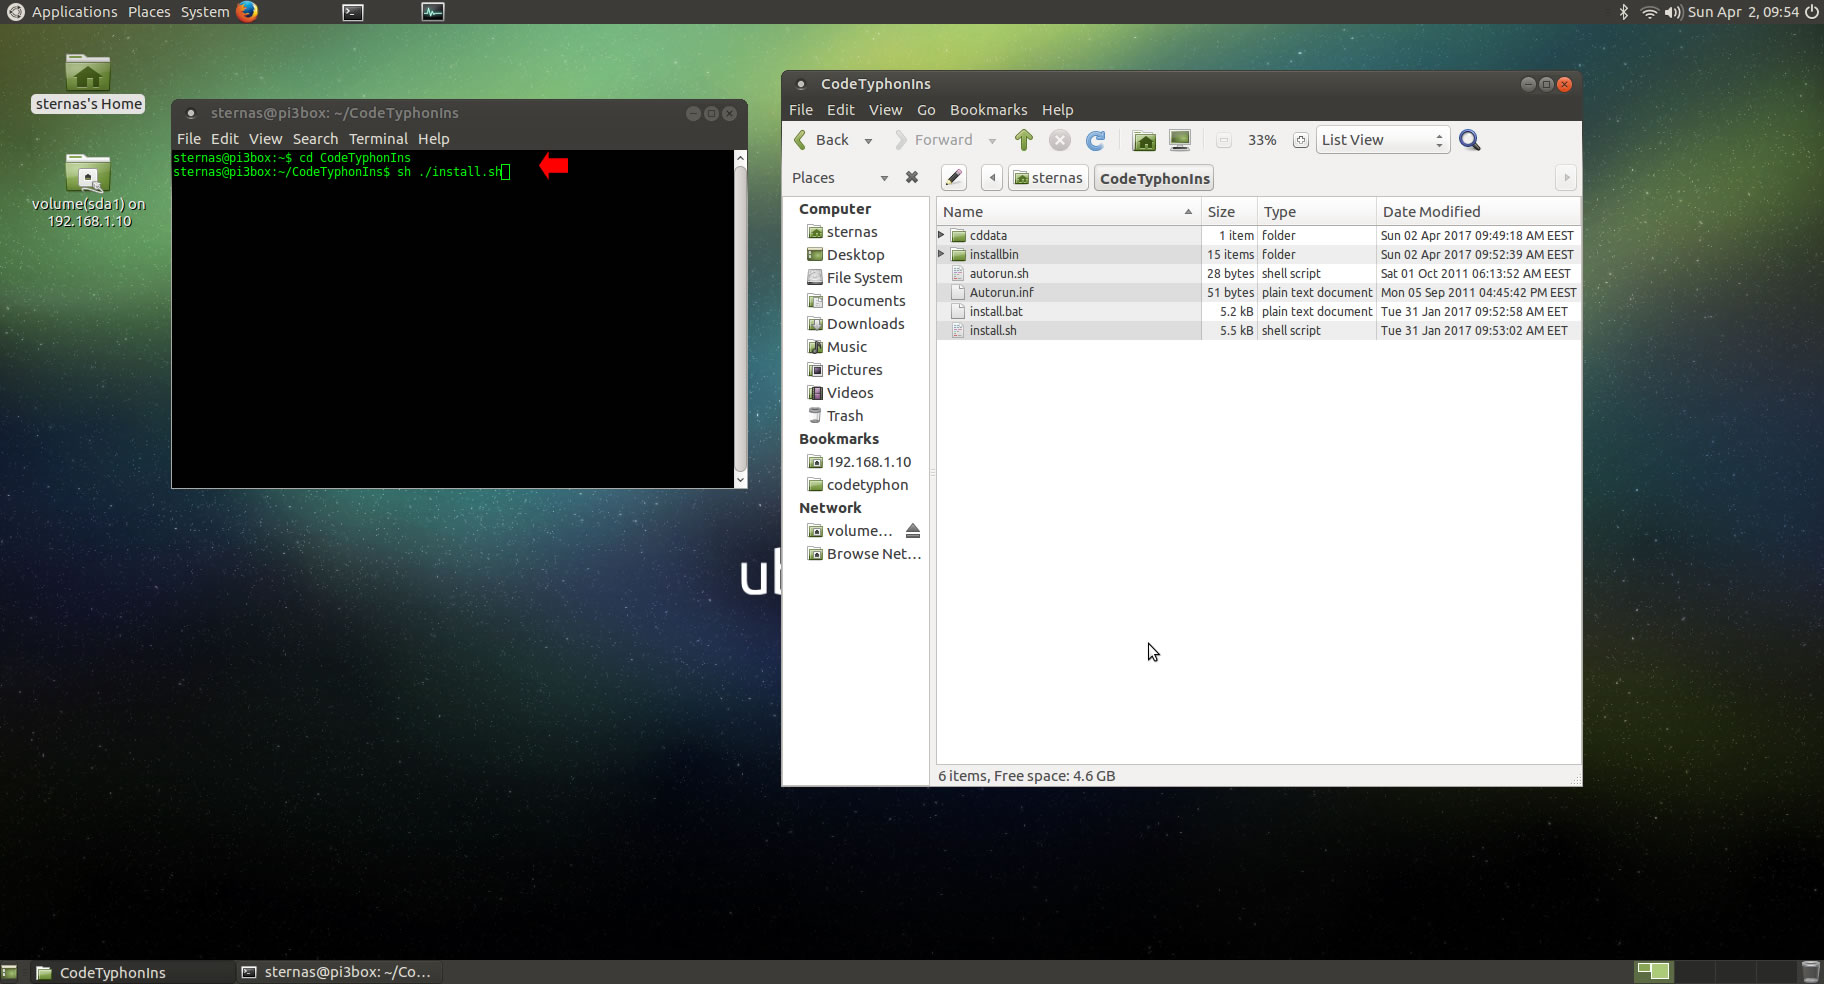
Open a terminal, and go to new CodeTyphonIns directory
cd CodeTyphonIns
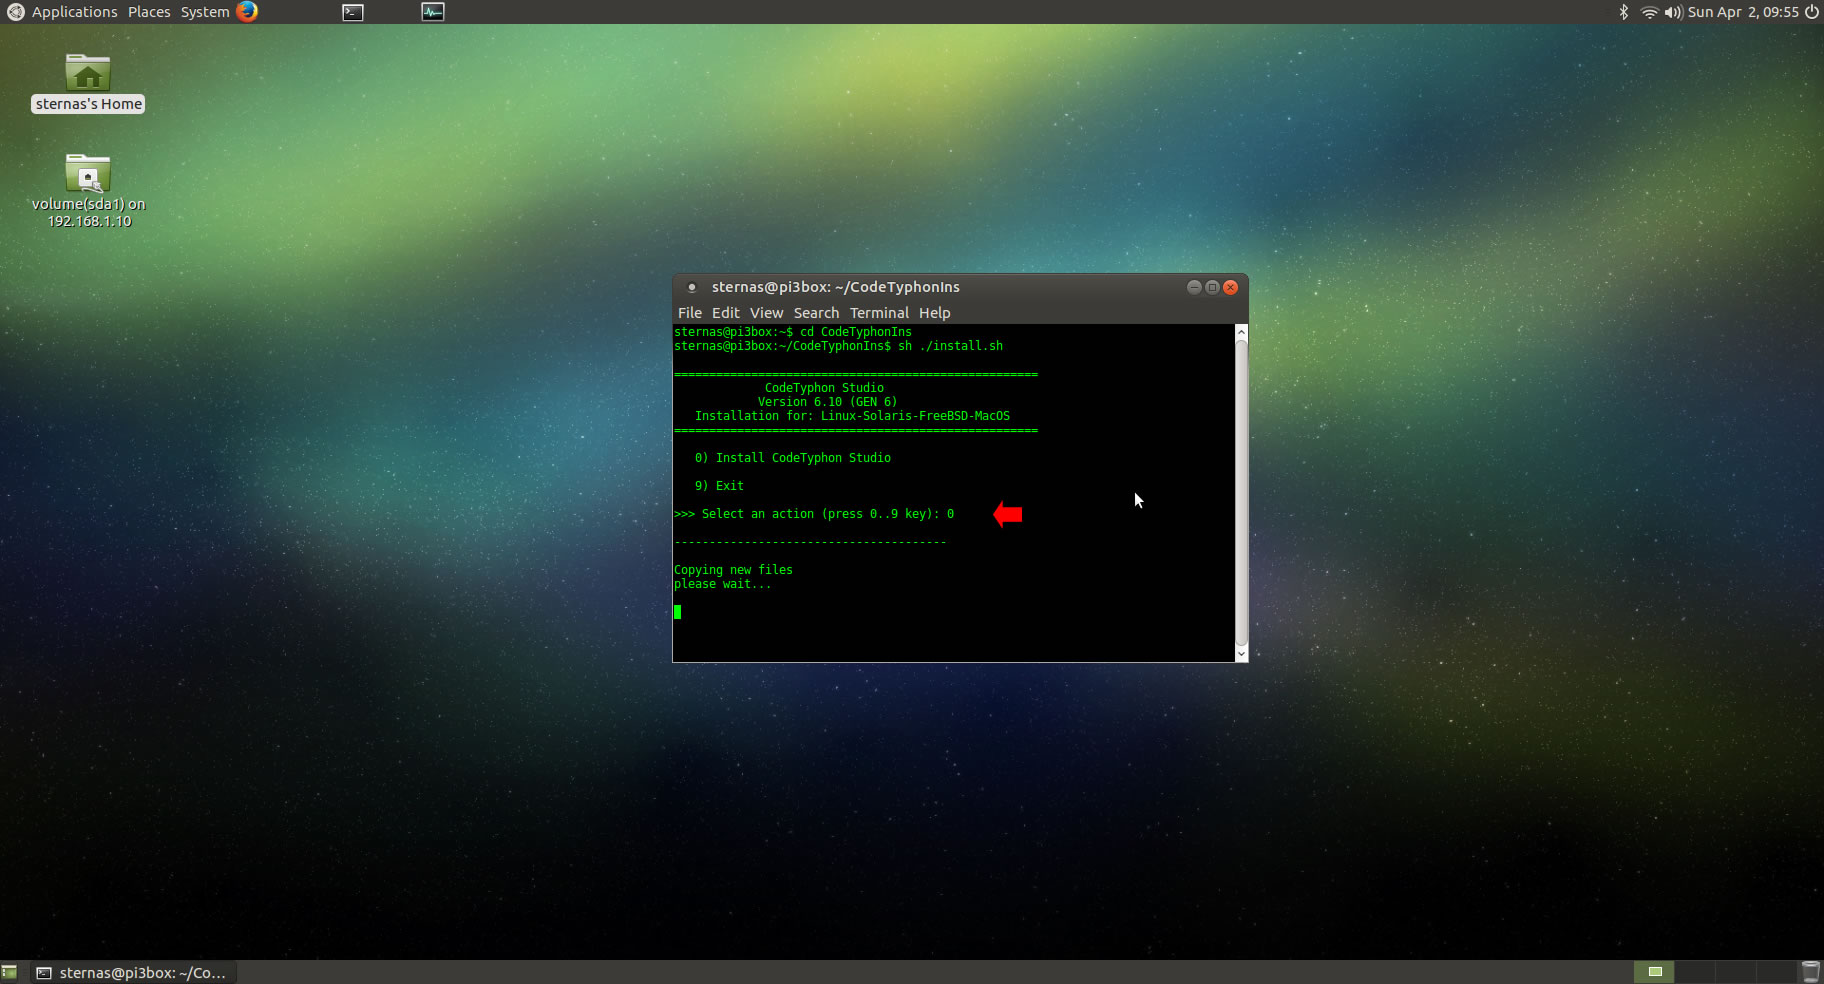
Start CodeTyphon Installation with command
sh ./install.sh
Give zero "0" to Install CodeTyphon
4. Setup and Build
After CT install you can start CTCenter or to continue with the open terminal
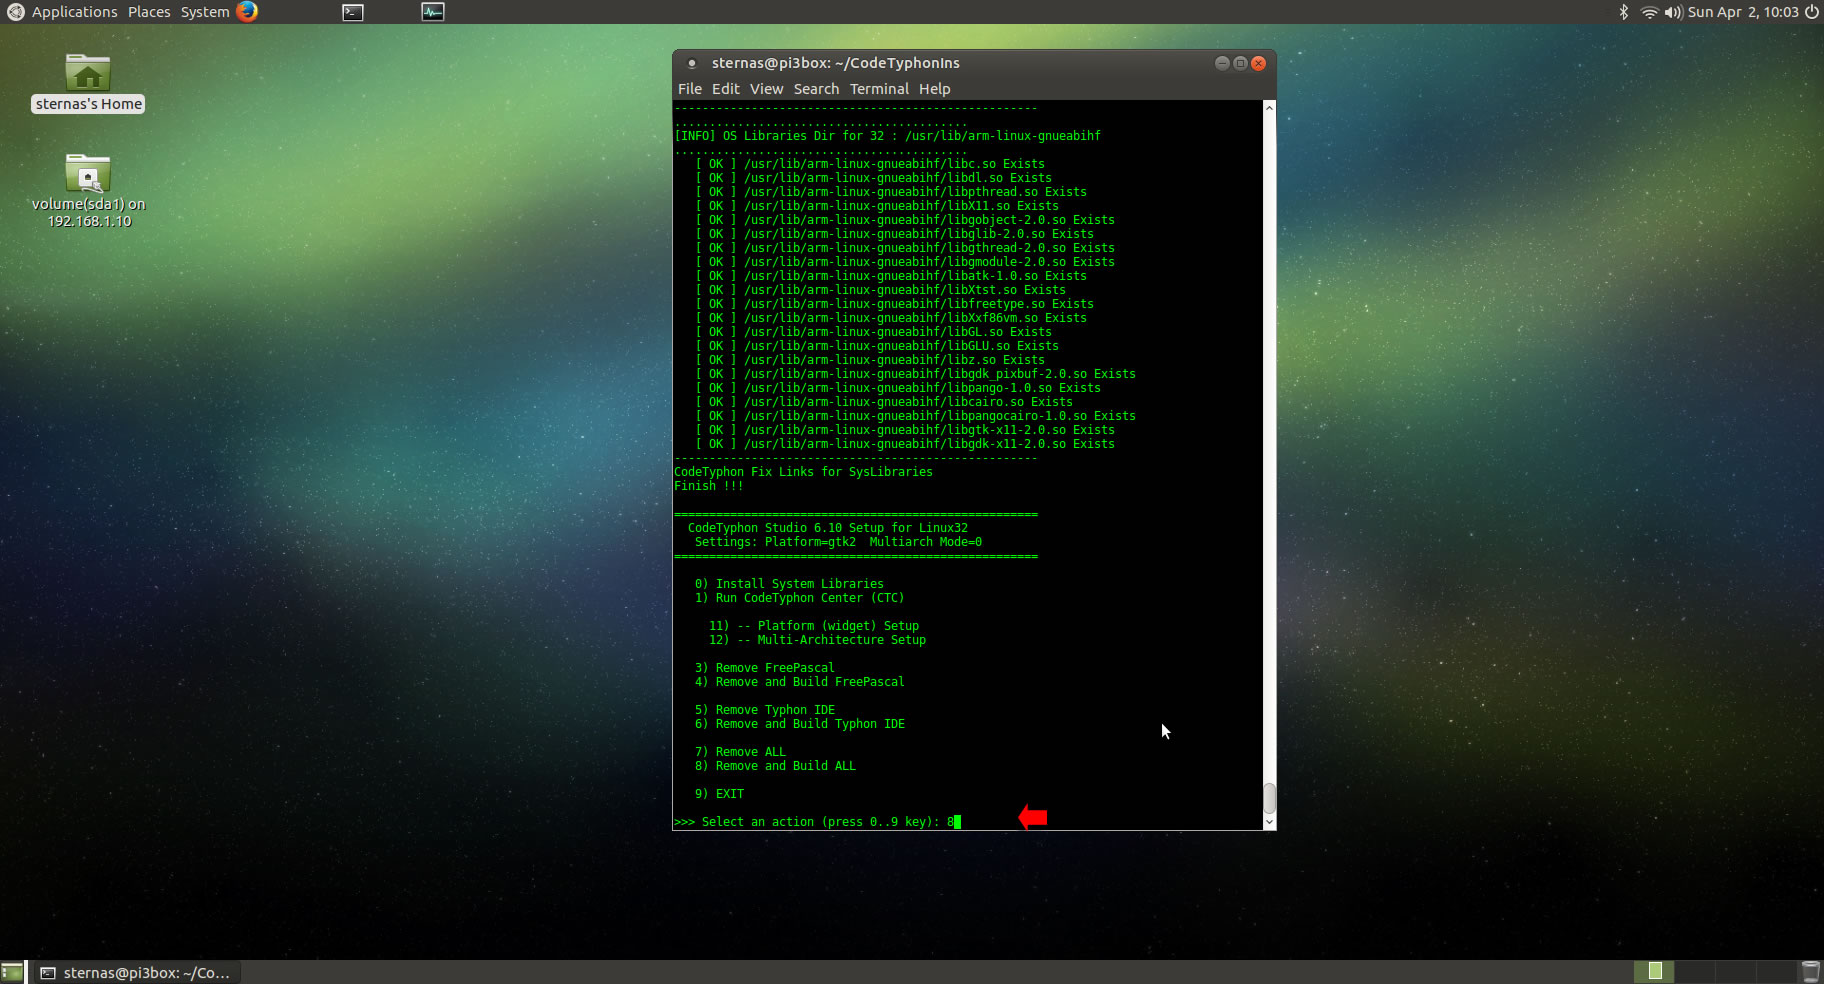
It's the first installation of CodeTyphon on this Micro PC, so first we install "system libraries", select "0".
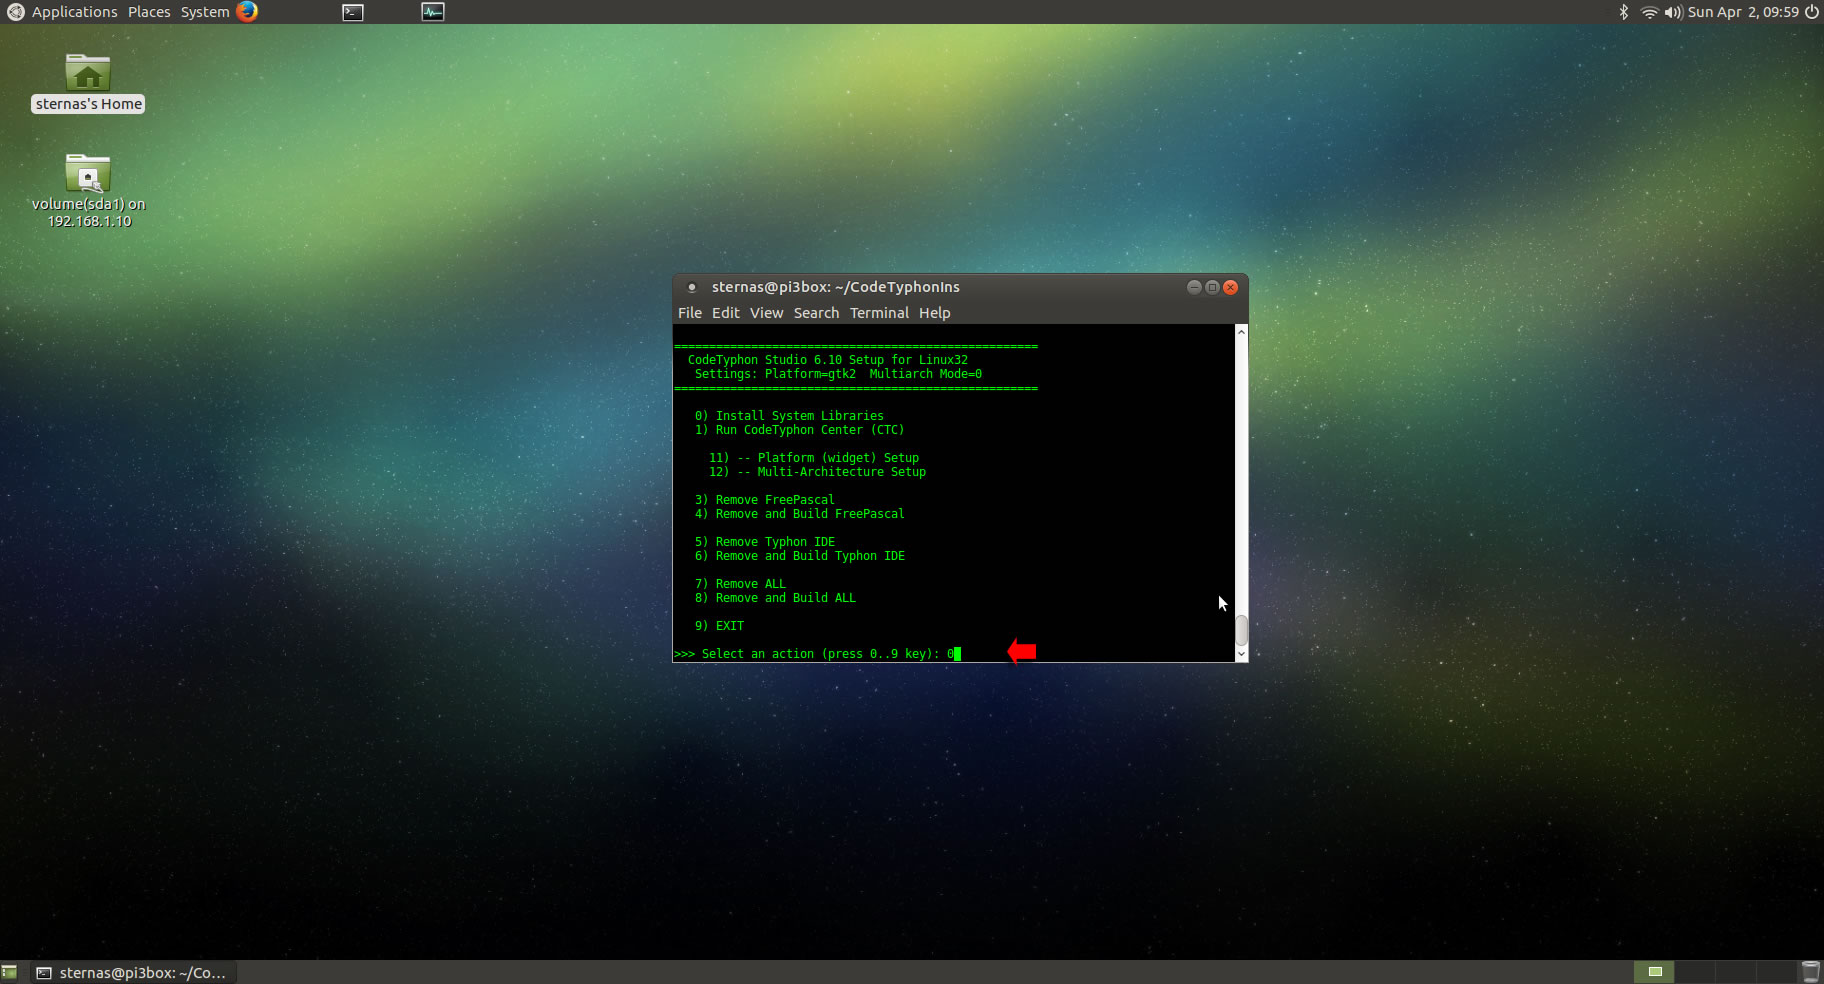
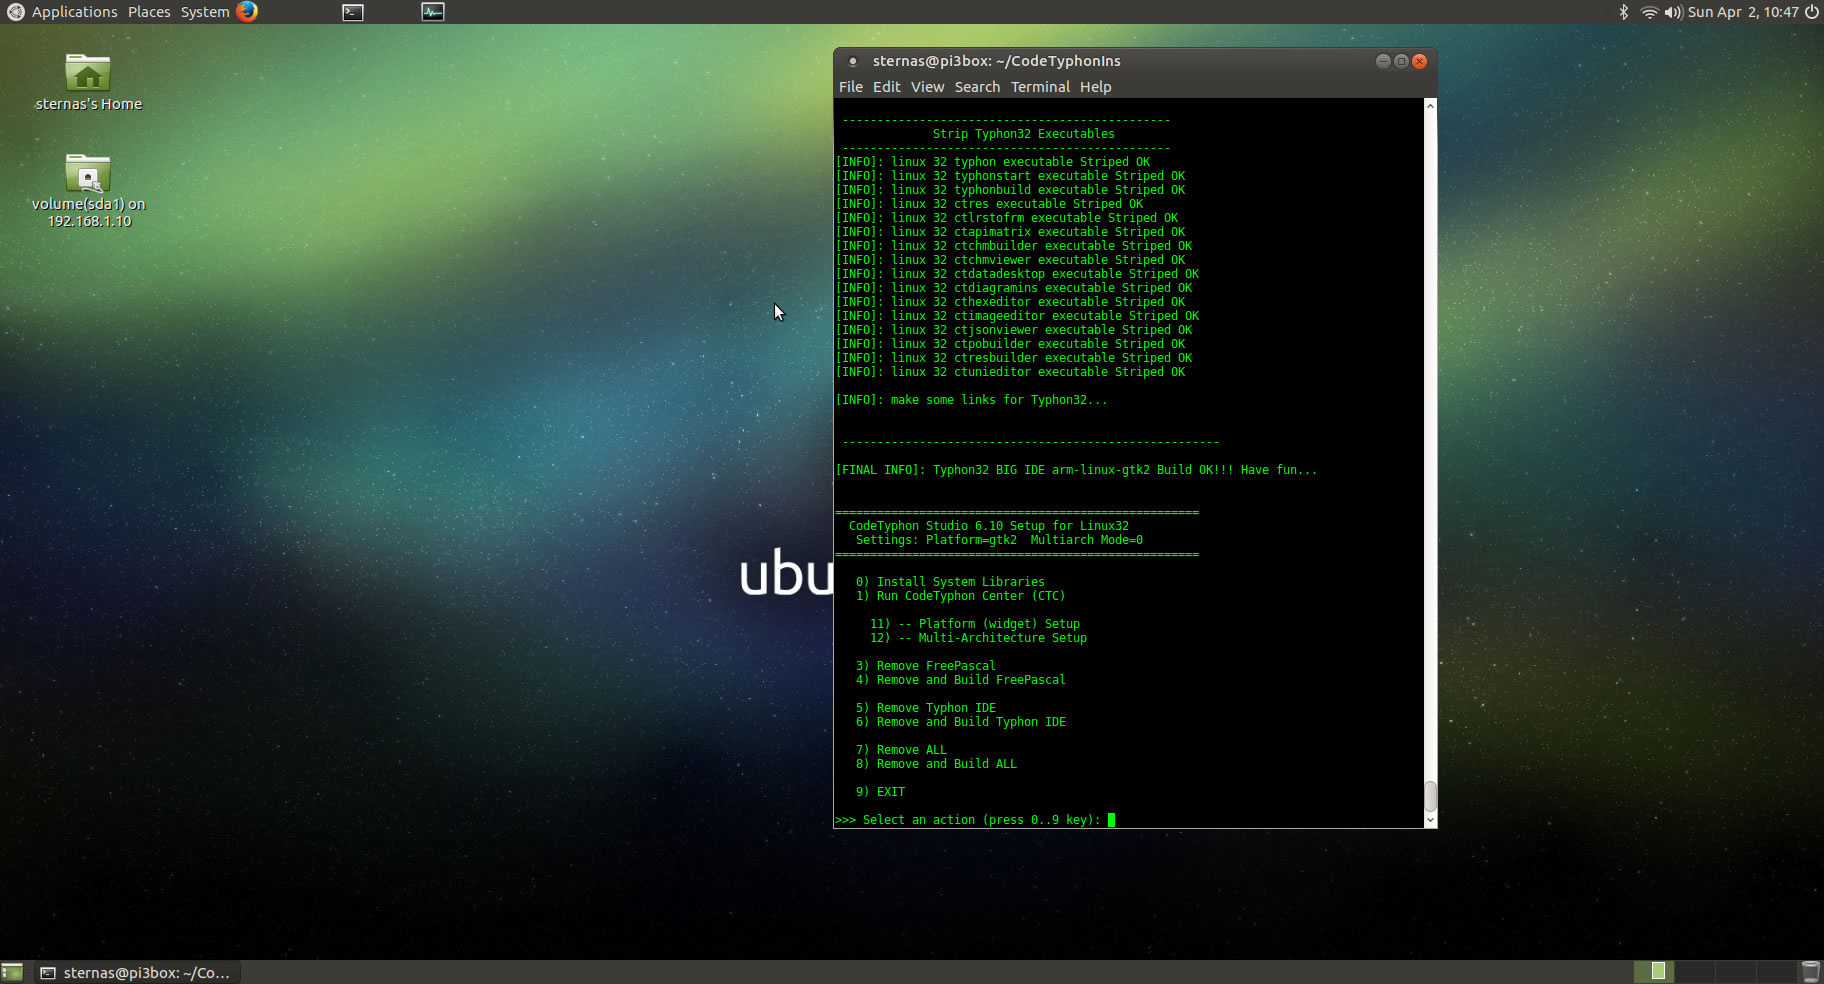
Select "8" to build all...
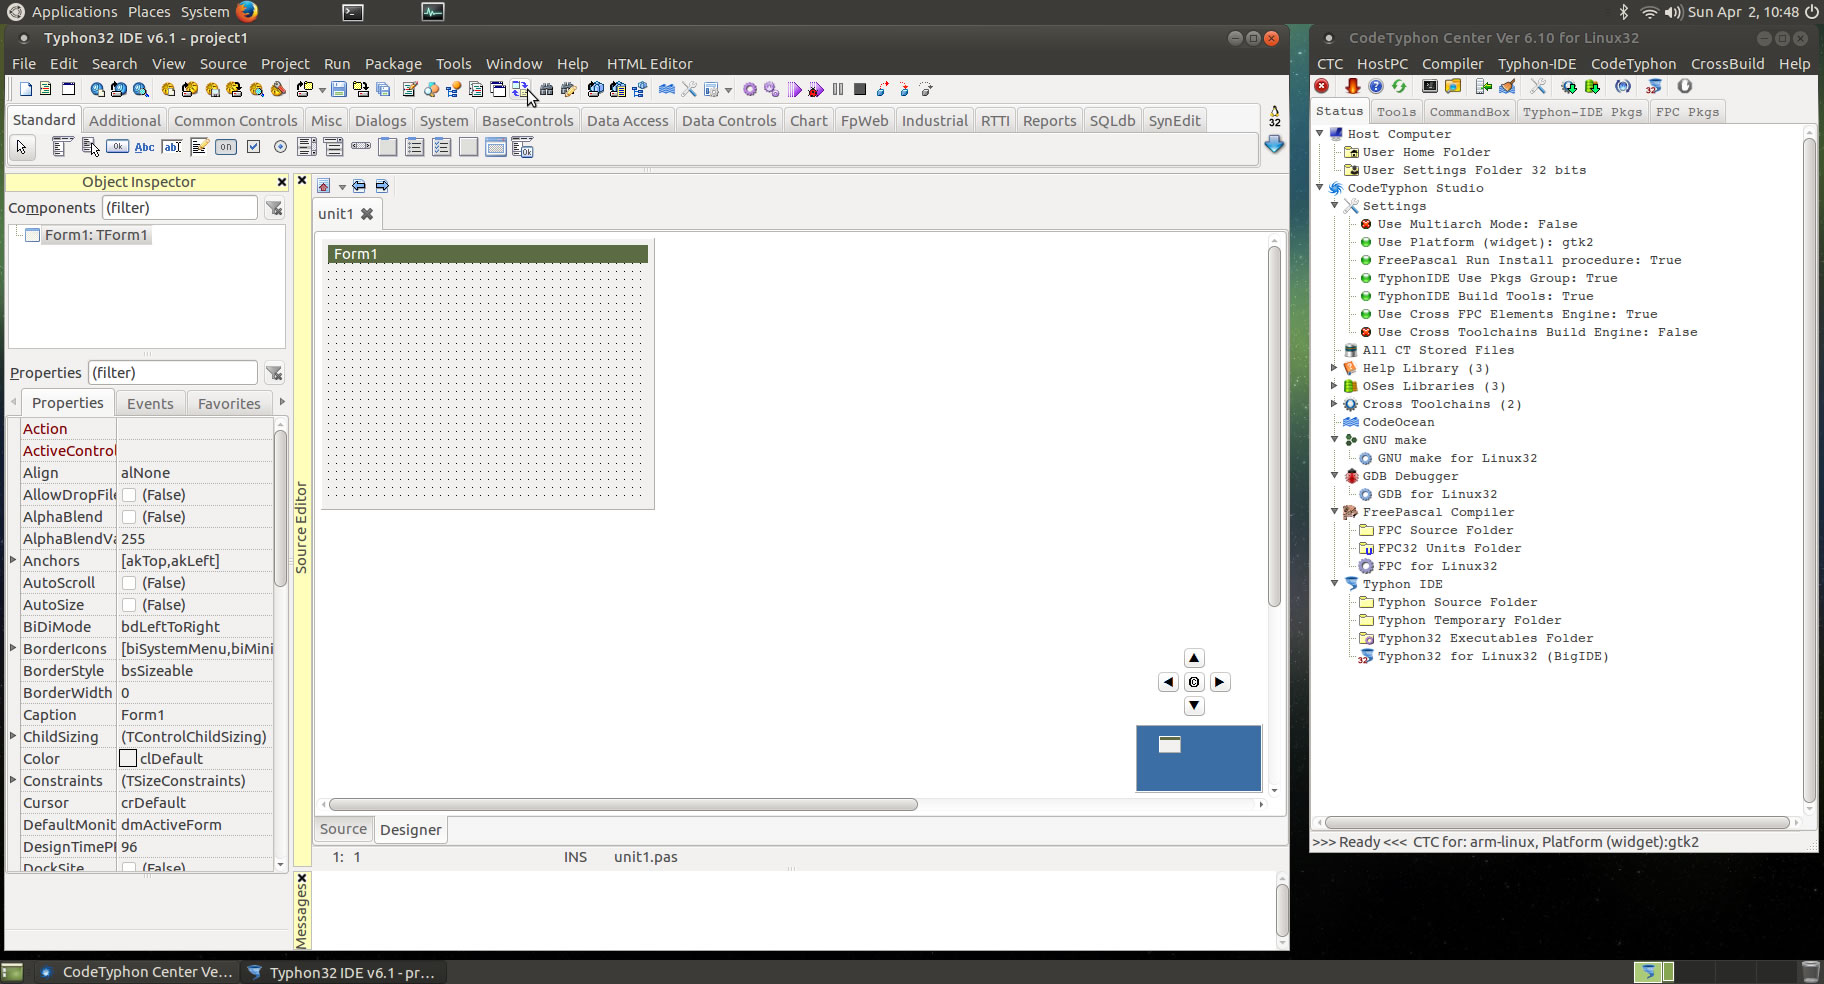
5. Finally
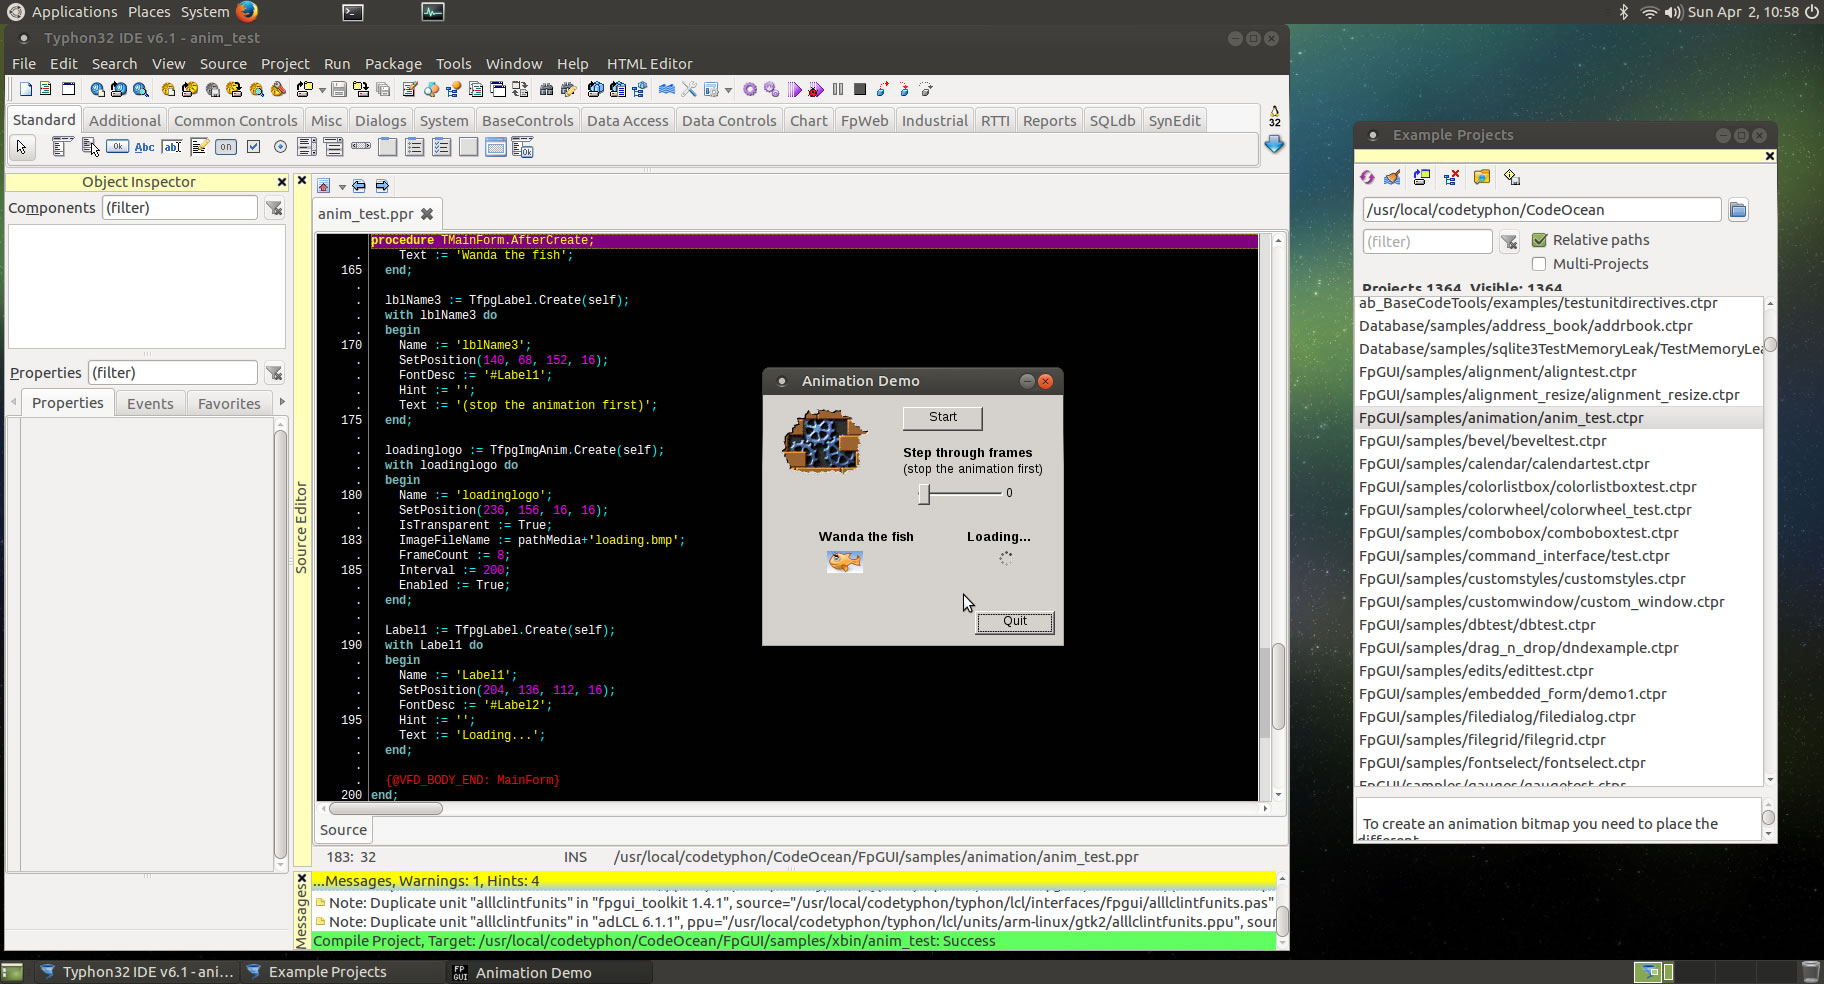
CTCenter and Typhon32 IDE
6. Libraries tests
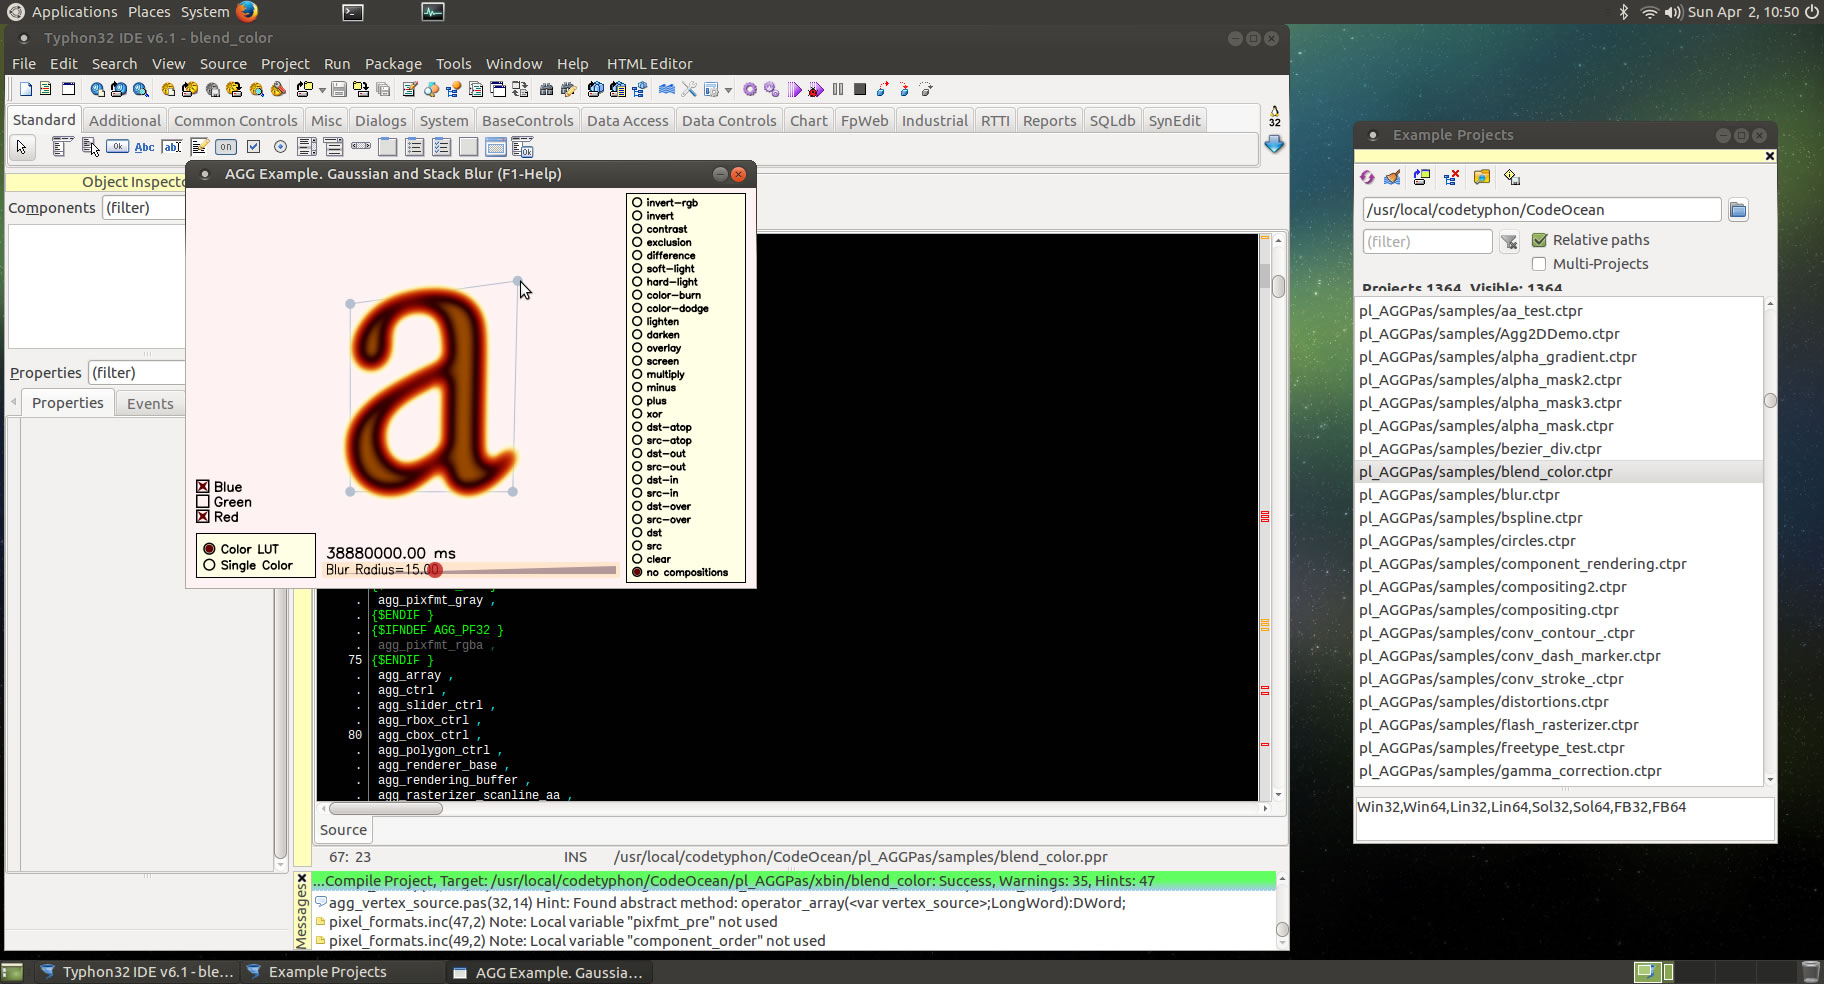
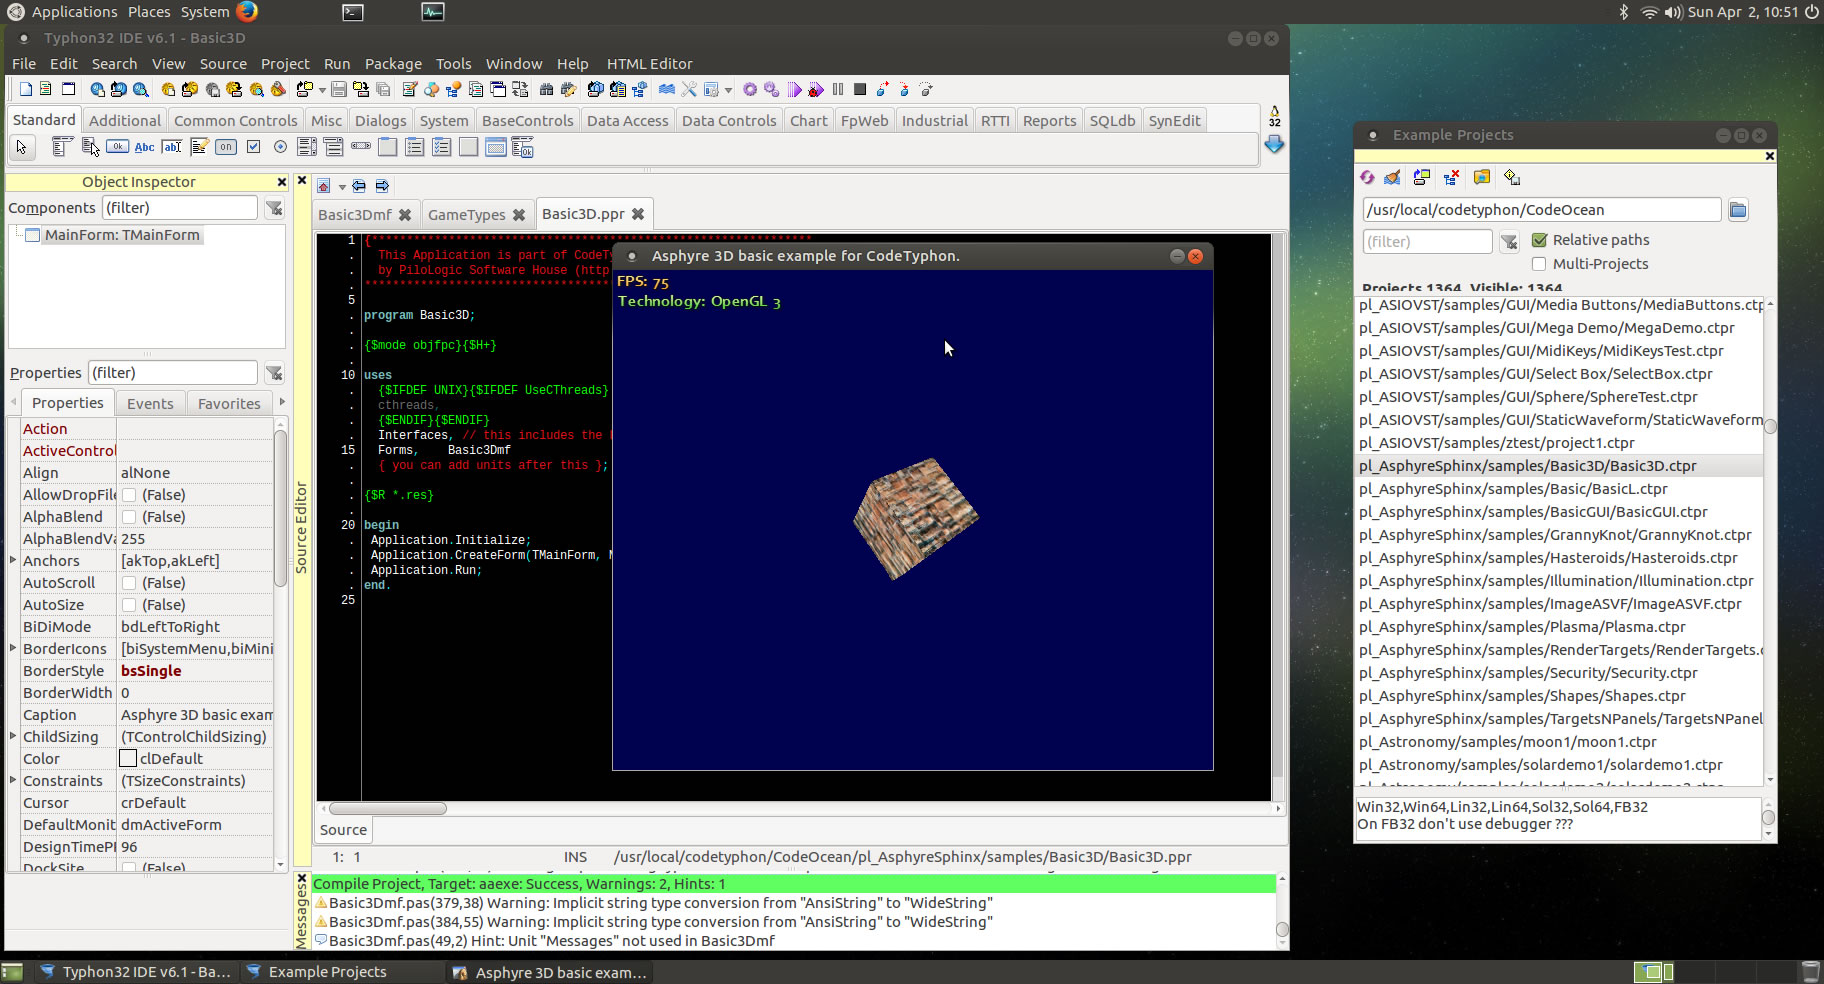
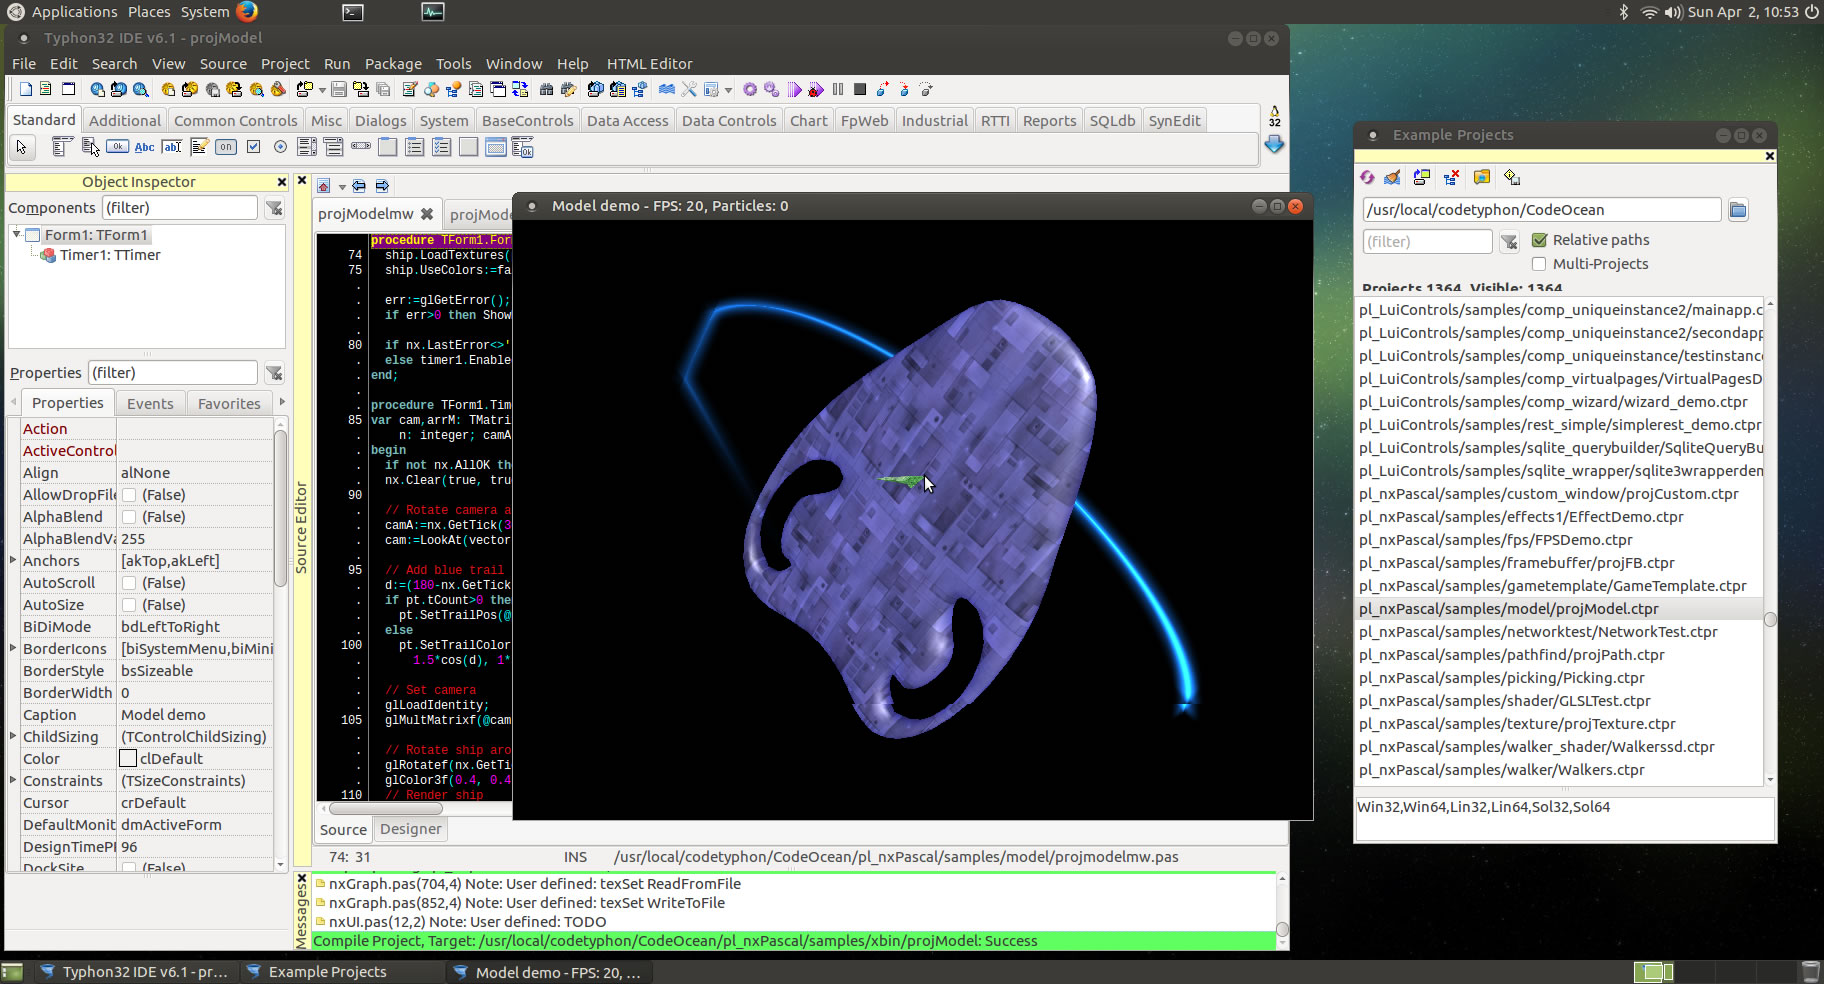
OpenGL tests

Fpgui platform tests